

Iron Patch Instructions

What You’ll Need:
- Clean garment or fabric (cotton or denim works best)
- Iron (no steam)
- Thin cloth or parchment paper
- Flat, heat-safe surface (like an ironing board)
Steps:
- Prep the Fabric
Wash and dry the garment first to remove finishes or shrinkage.
Lay it flat on the ironing board with the area you’ll apply the patch smoothed out. - Place the Patch
Position the patch where you’d like it.
Make sure it’s straight and centered before heating. - Cover & Protect
Place a thin cloth (like a pillowcase) or parchment paper over the patch.
This protects the embroidery threads from direct heat. - Iron the Patch
Heat the iron to medium-high (about 350°F / 175°C).
Press the iron down firmly on top of the covered patch for 15–20 seconds.
Don’t move the iron around—hold it in place with steady pressure. - Flip & Seal
Turn the garment inside out.
Iron the back of the patch area for another 15–20 seconds to fully melt the adhesive. - Let It Cool
Allow the patch to cool completely (about 5 minutes).
Check the edges; if any lift, repeat the process.
For Best Results:
- Reinforce with stitching (especially on high-wear areas like jackets, backpacks, or hats).
- Avoid delicate fabrics (silk, nylon, leather) as the heat may damage them.
- Wash inside out with cold water to extend patch life.
⚠️ Important: If your patch is on a stretchy or slick material (polyester, nylon, leather), sewing it on is recommended instead of ironing.
Featured collection
Patches
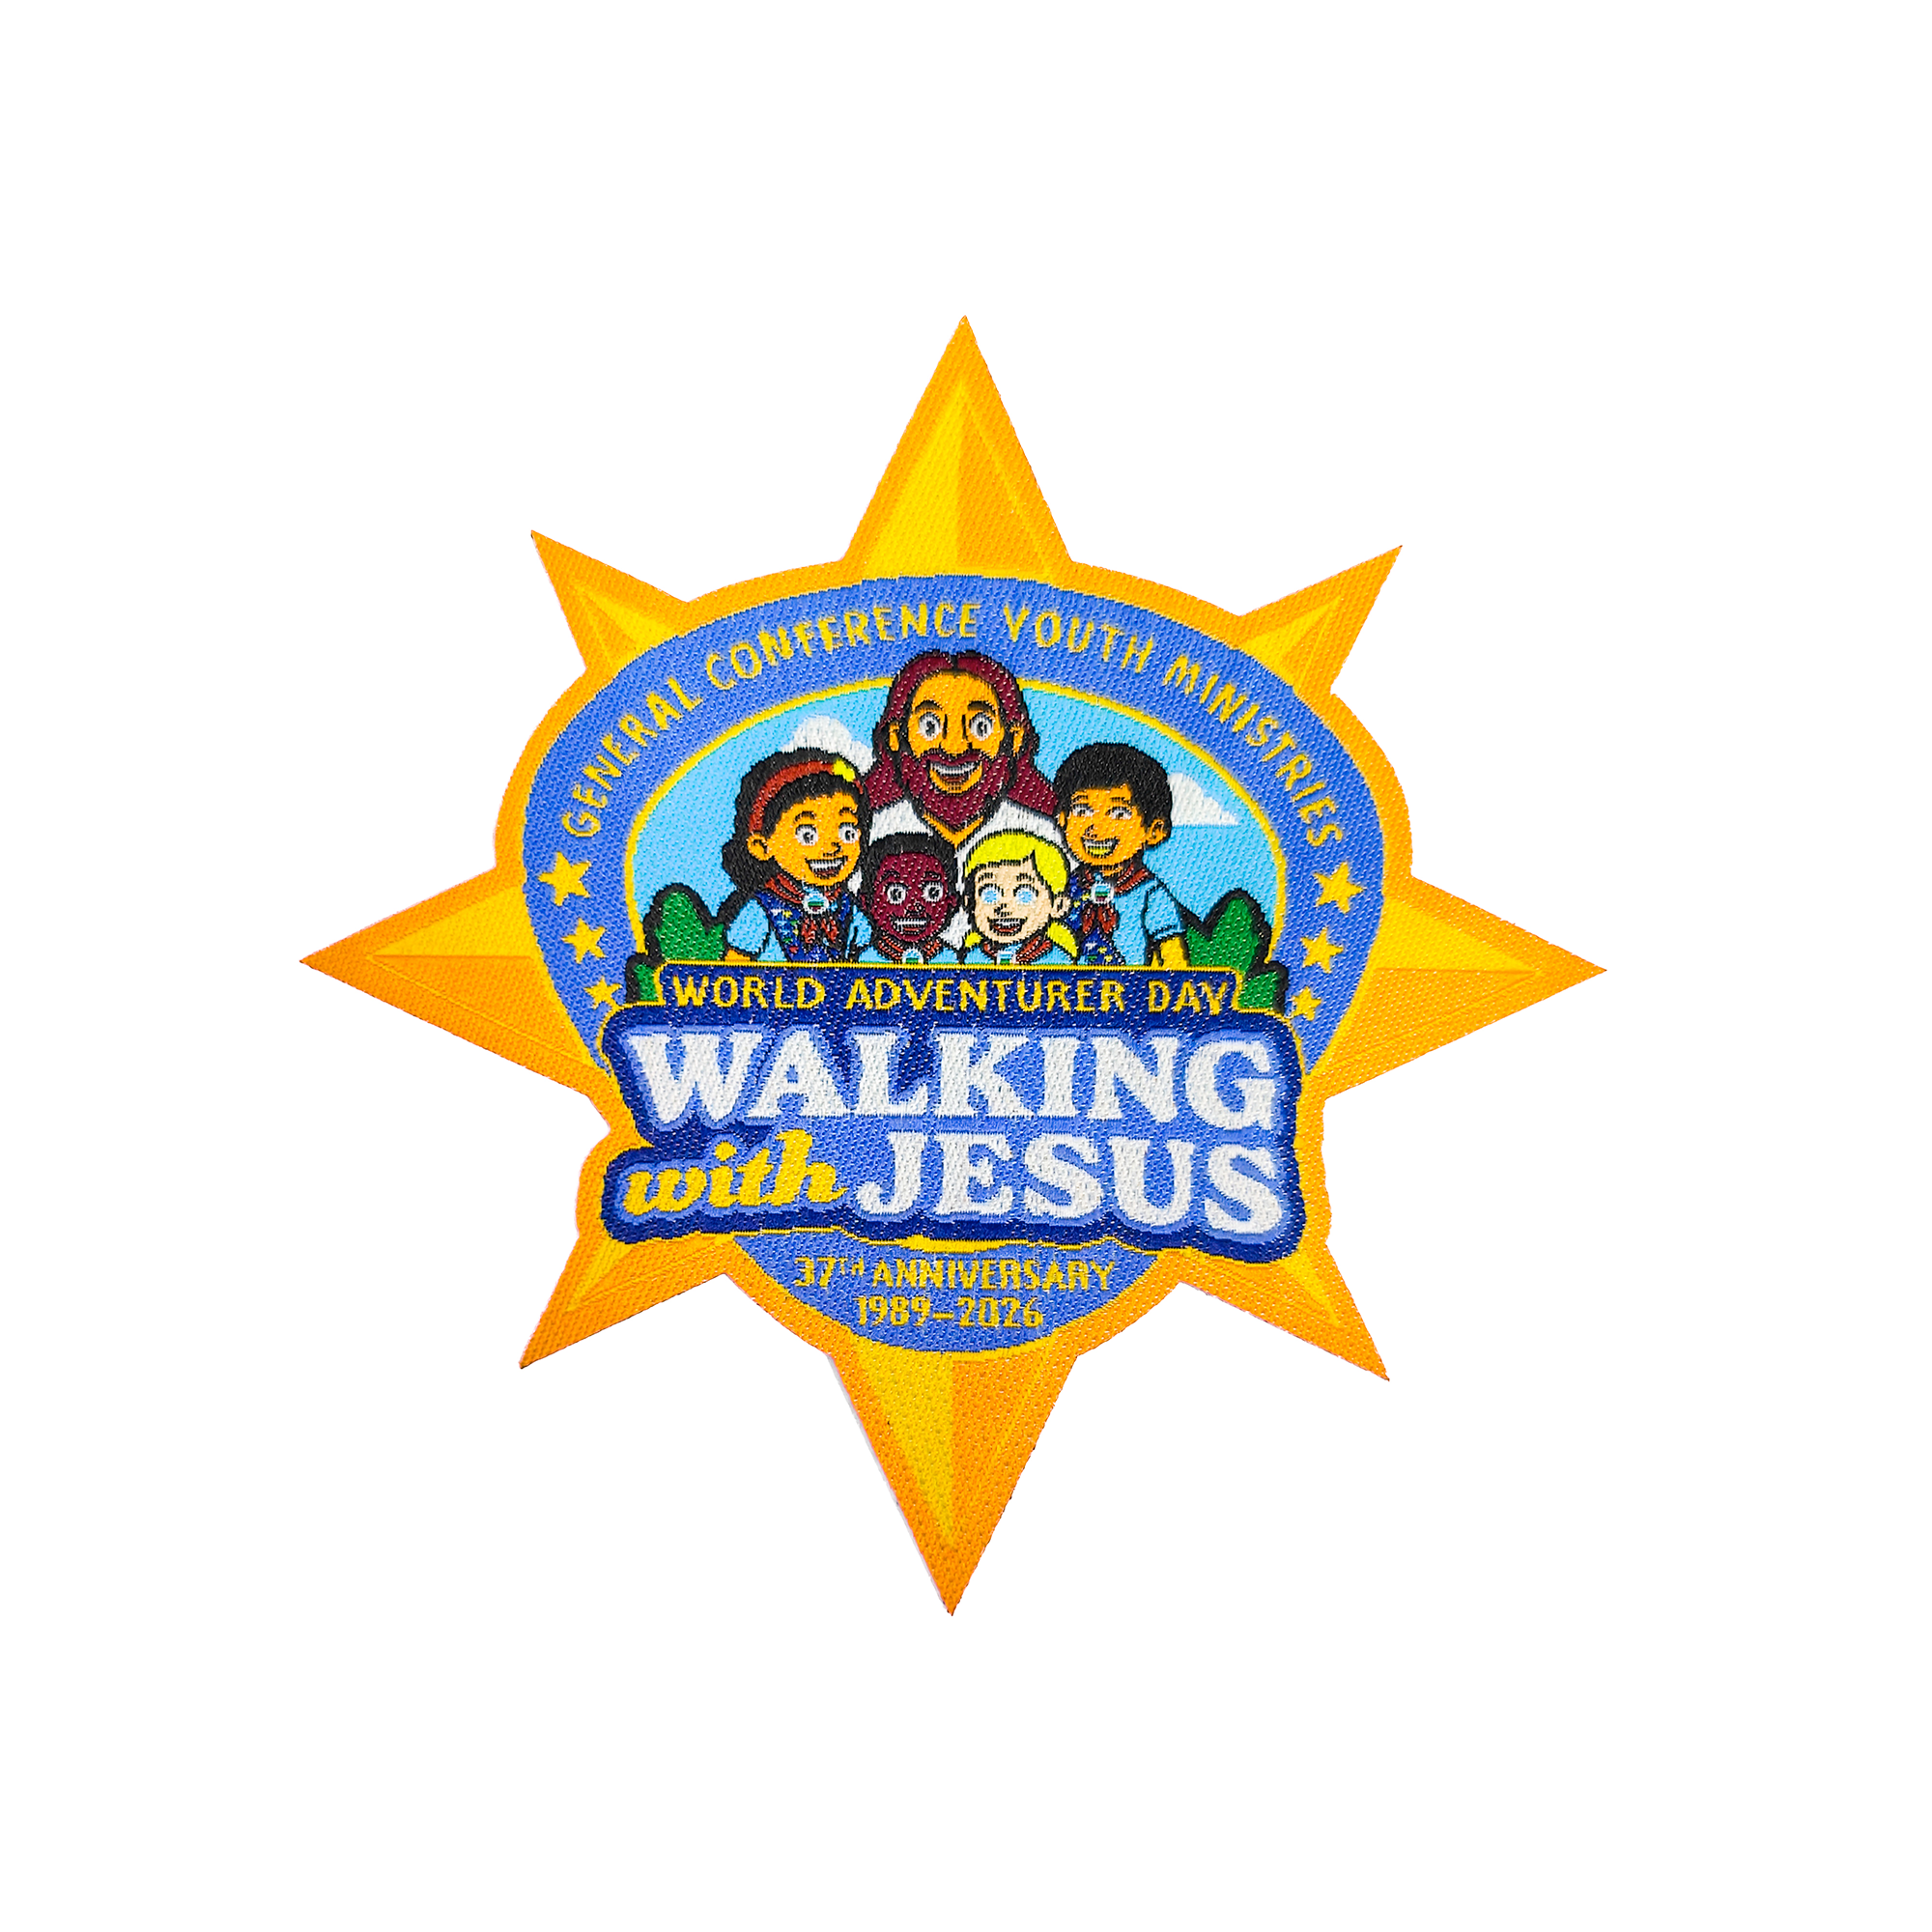
World Adventurer Day 2026 "Walking with Jesus" Patch
Sale priceR$ 32,00 BRL
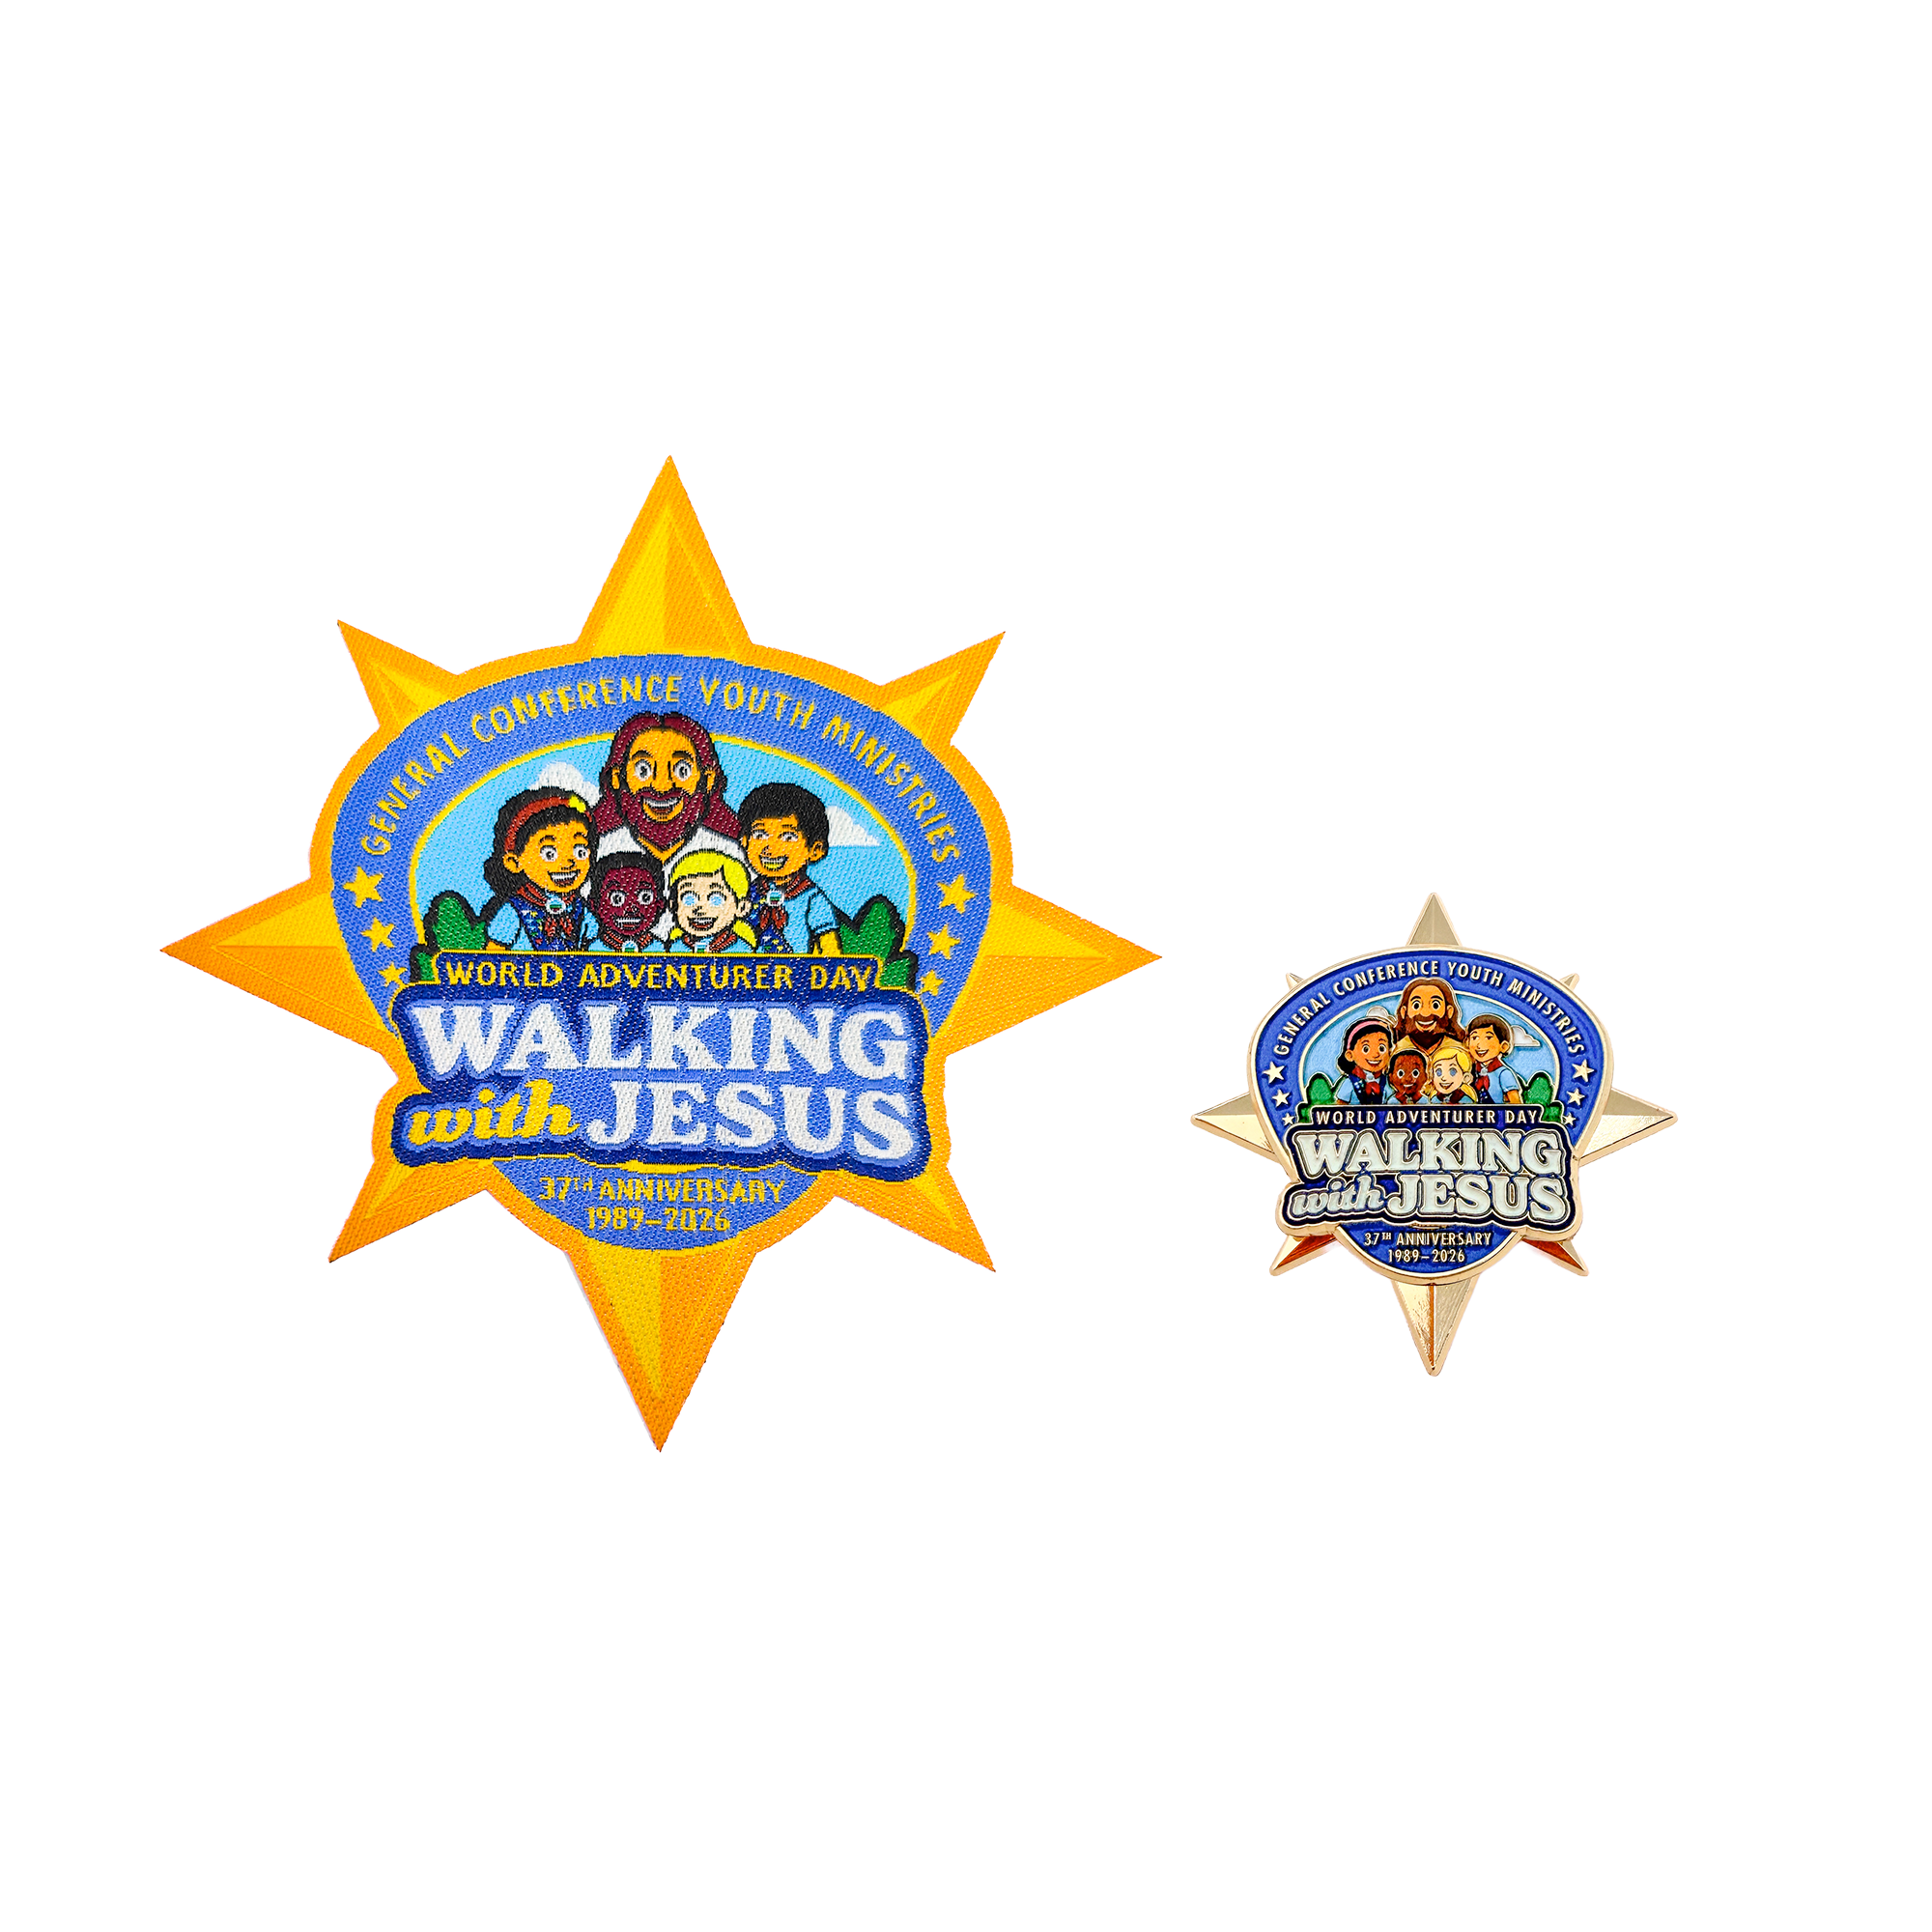
World Adventurer Day 2026 "Walking with Jesus" Pin & Patch (Bundle)
Sale priceR$ 53,00 BRL

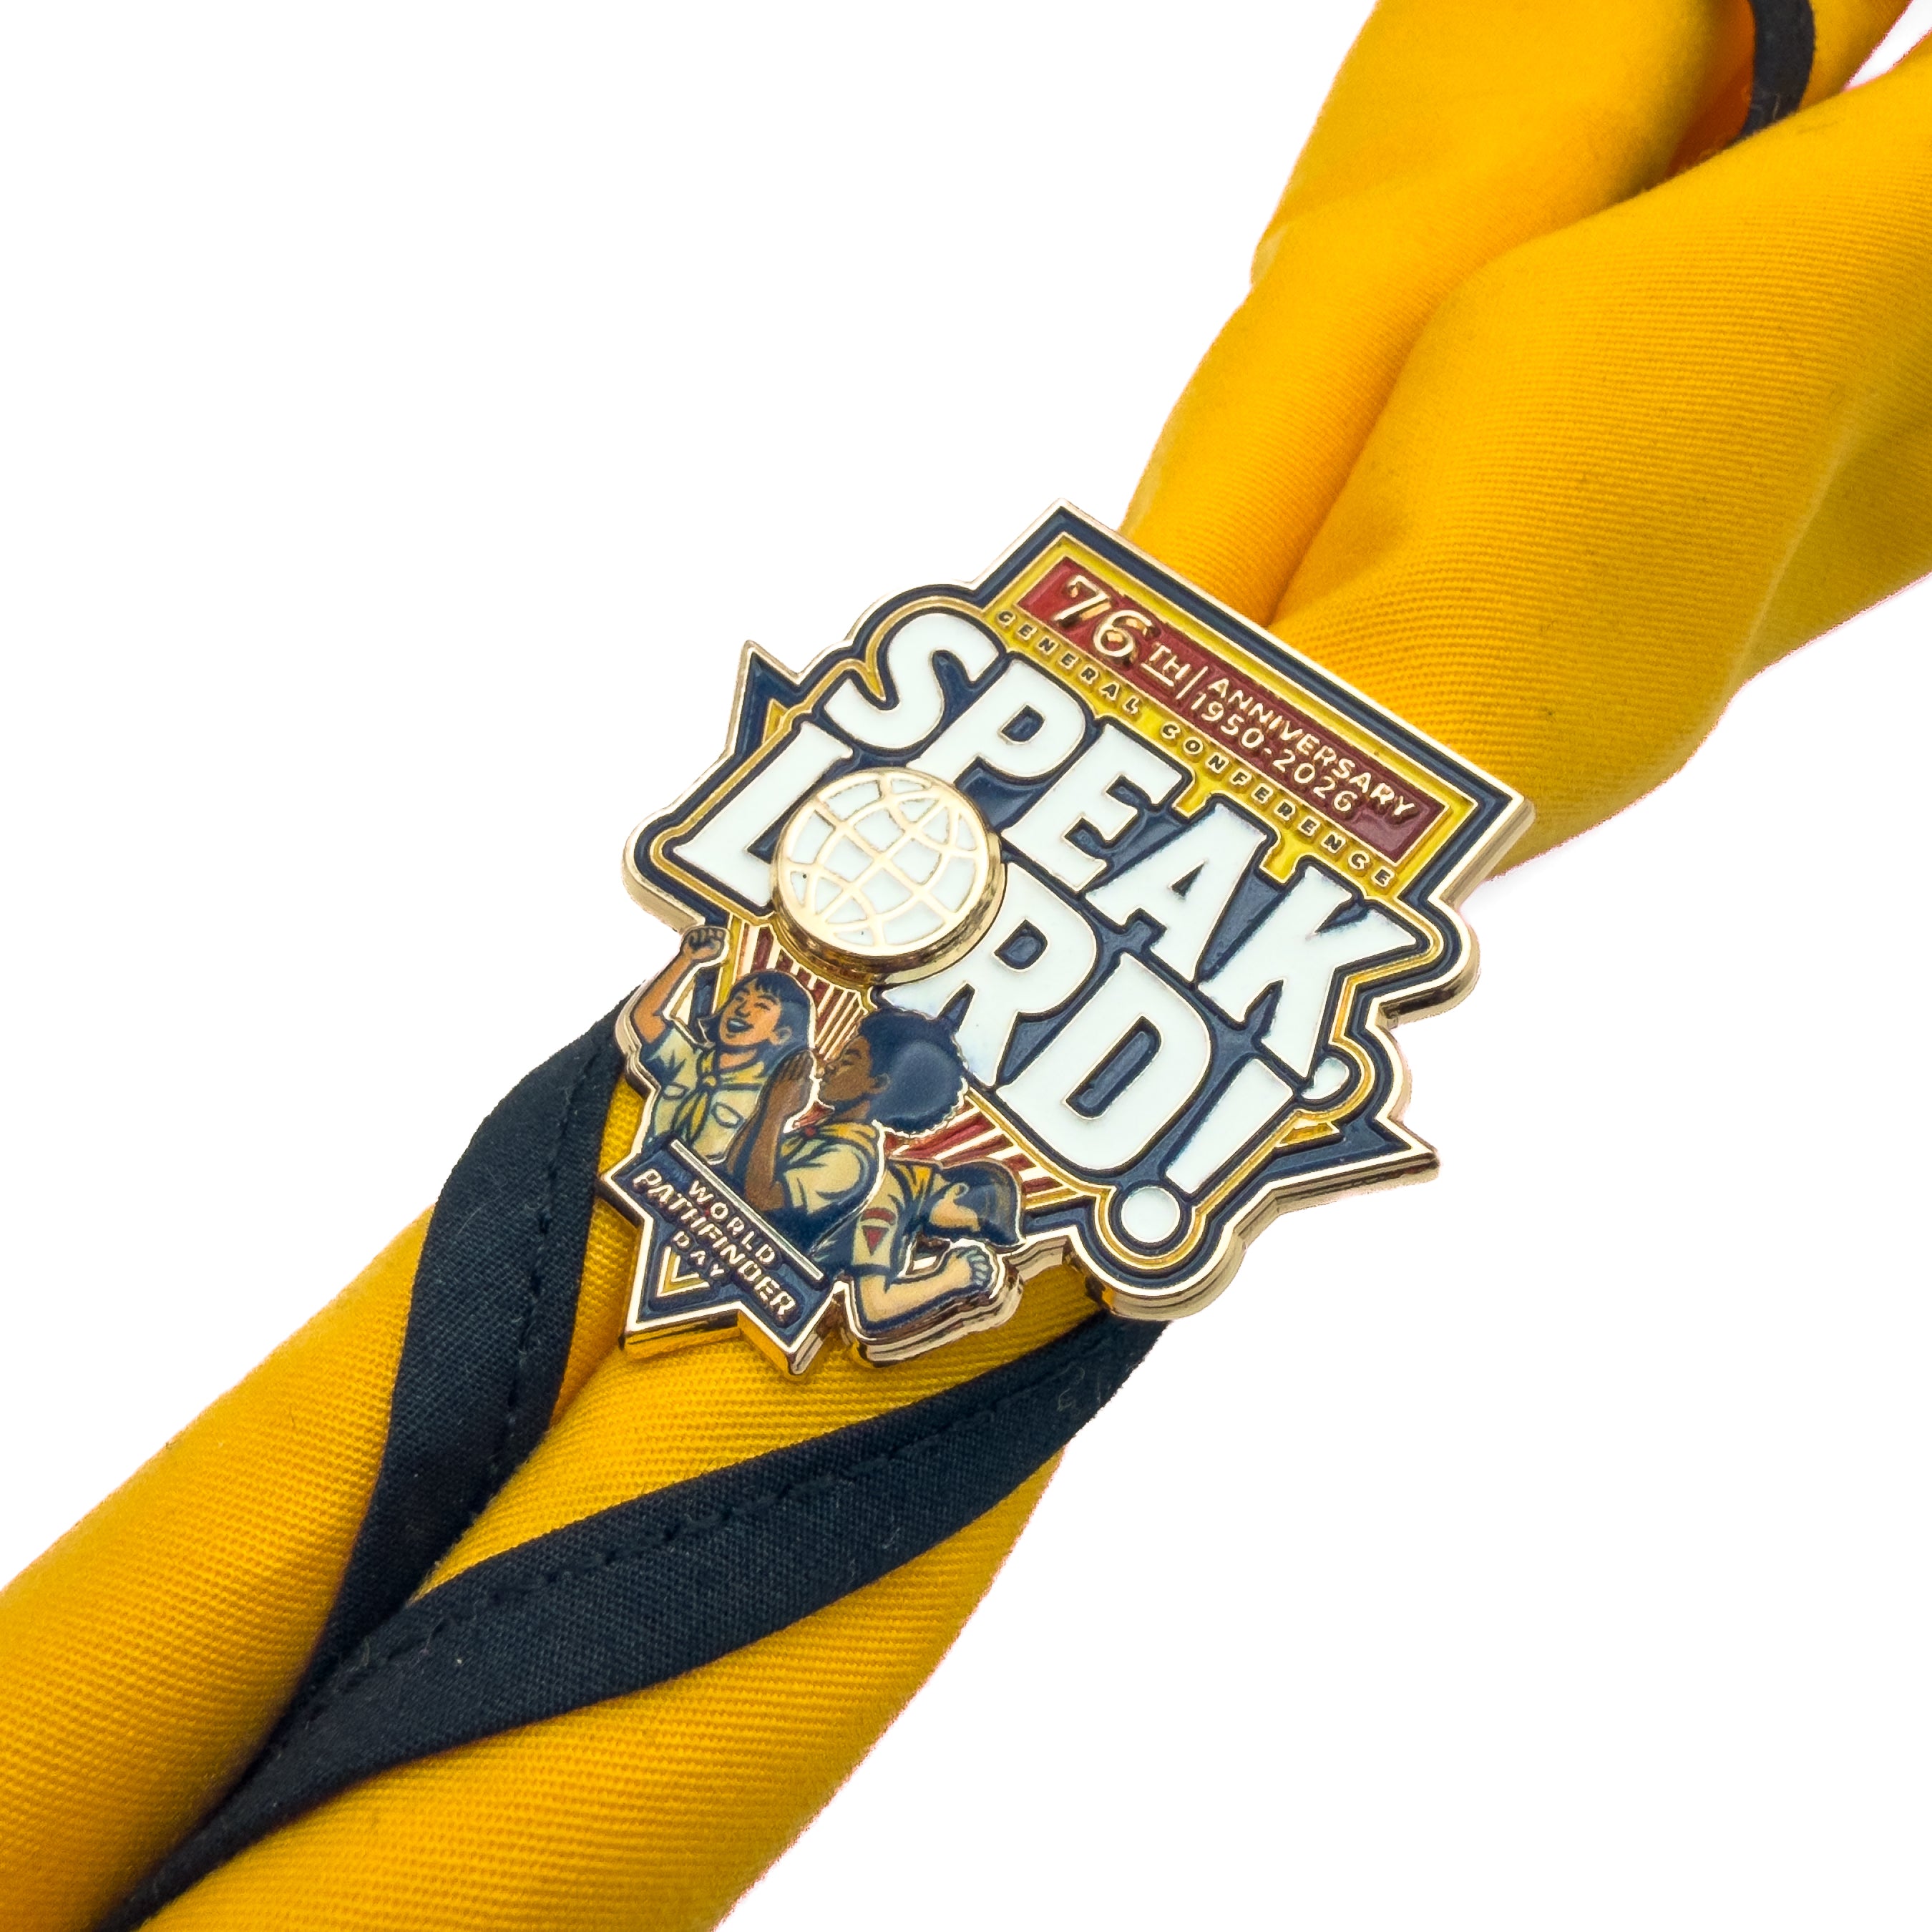
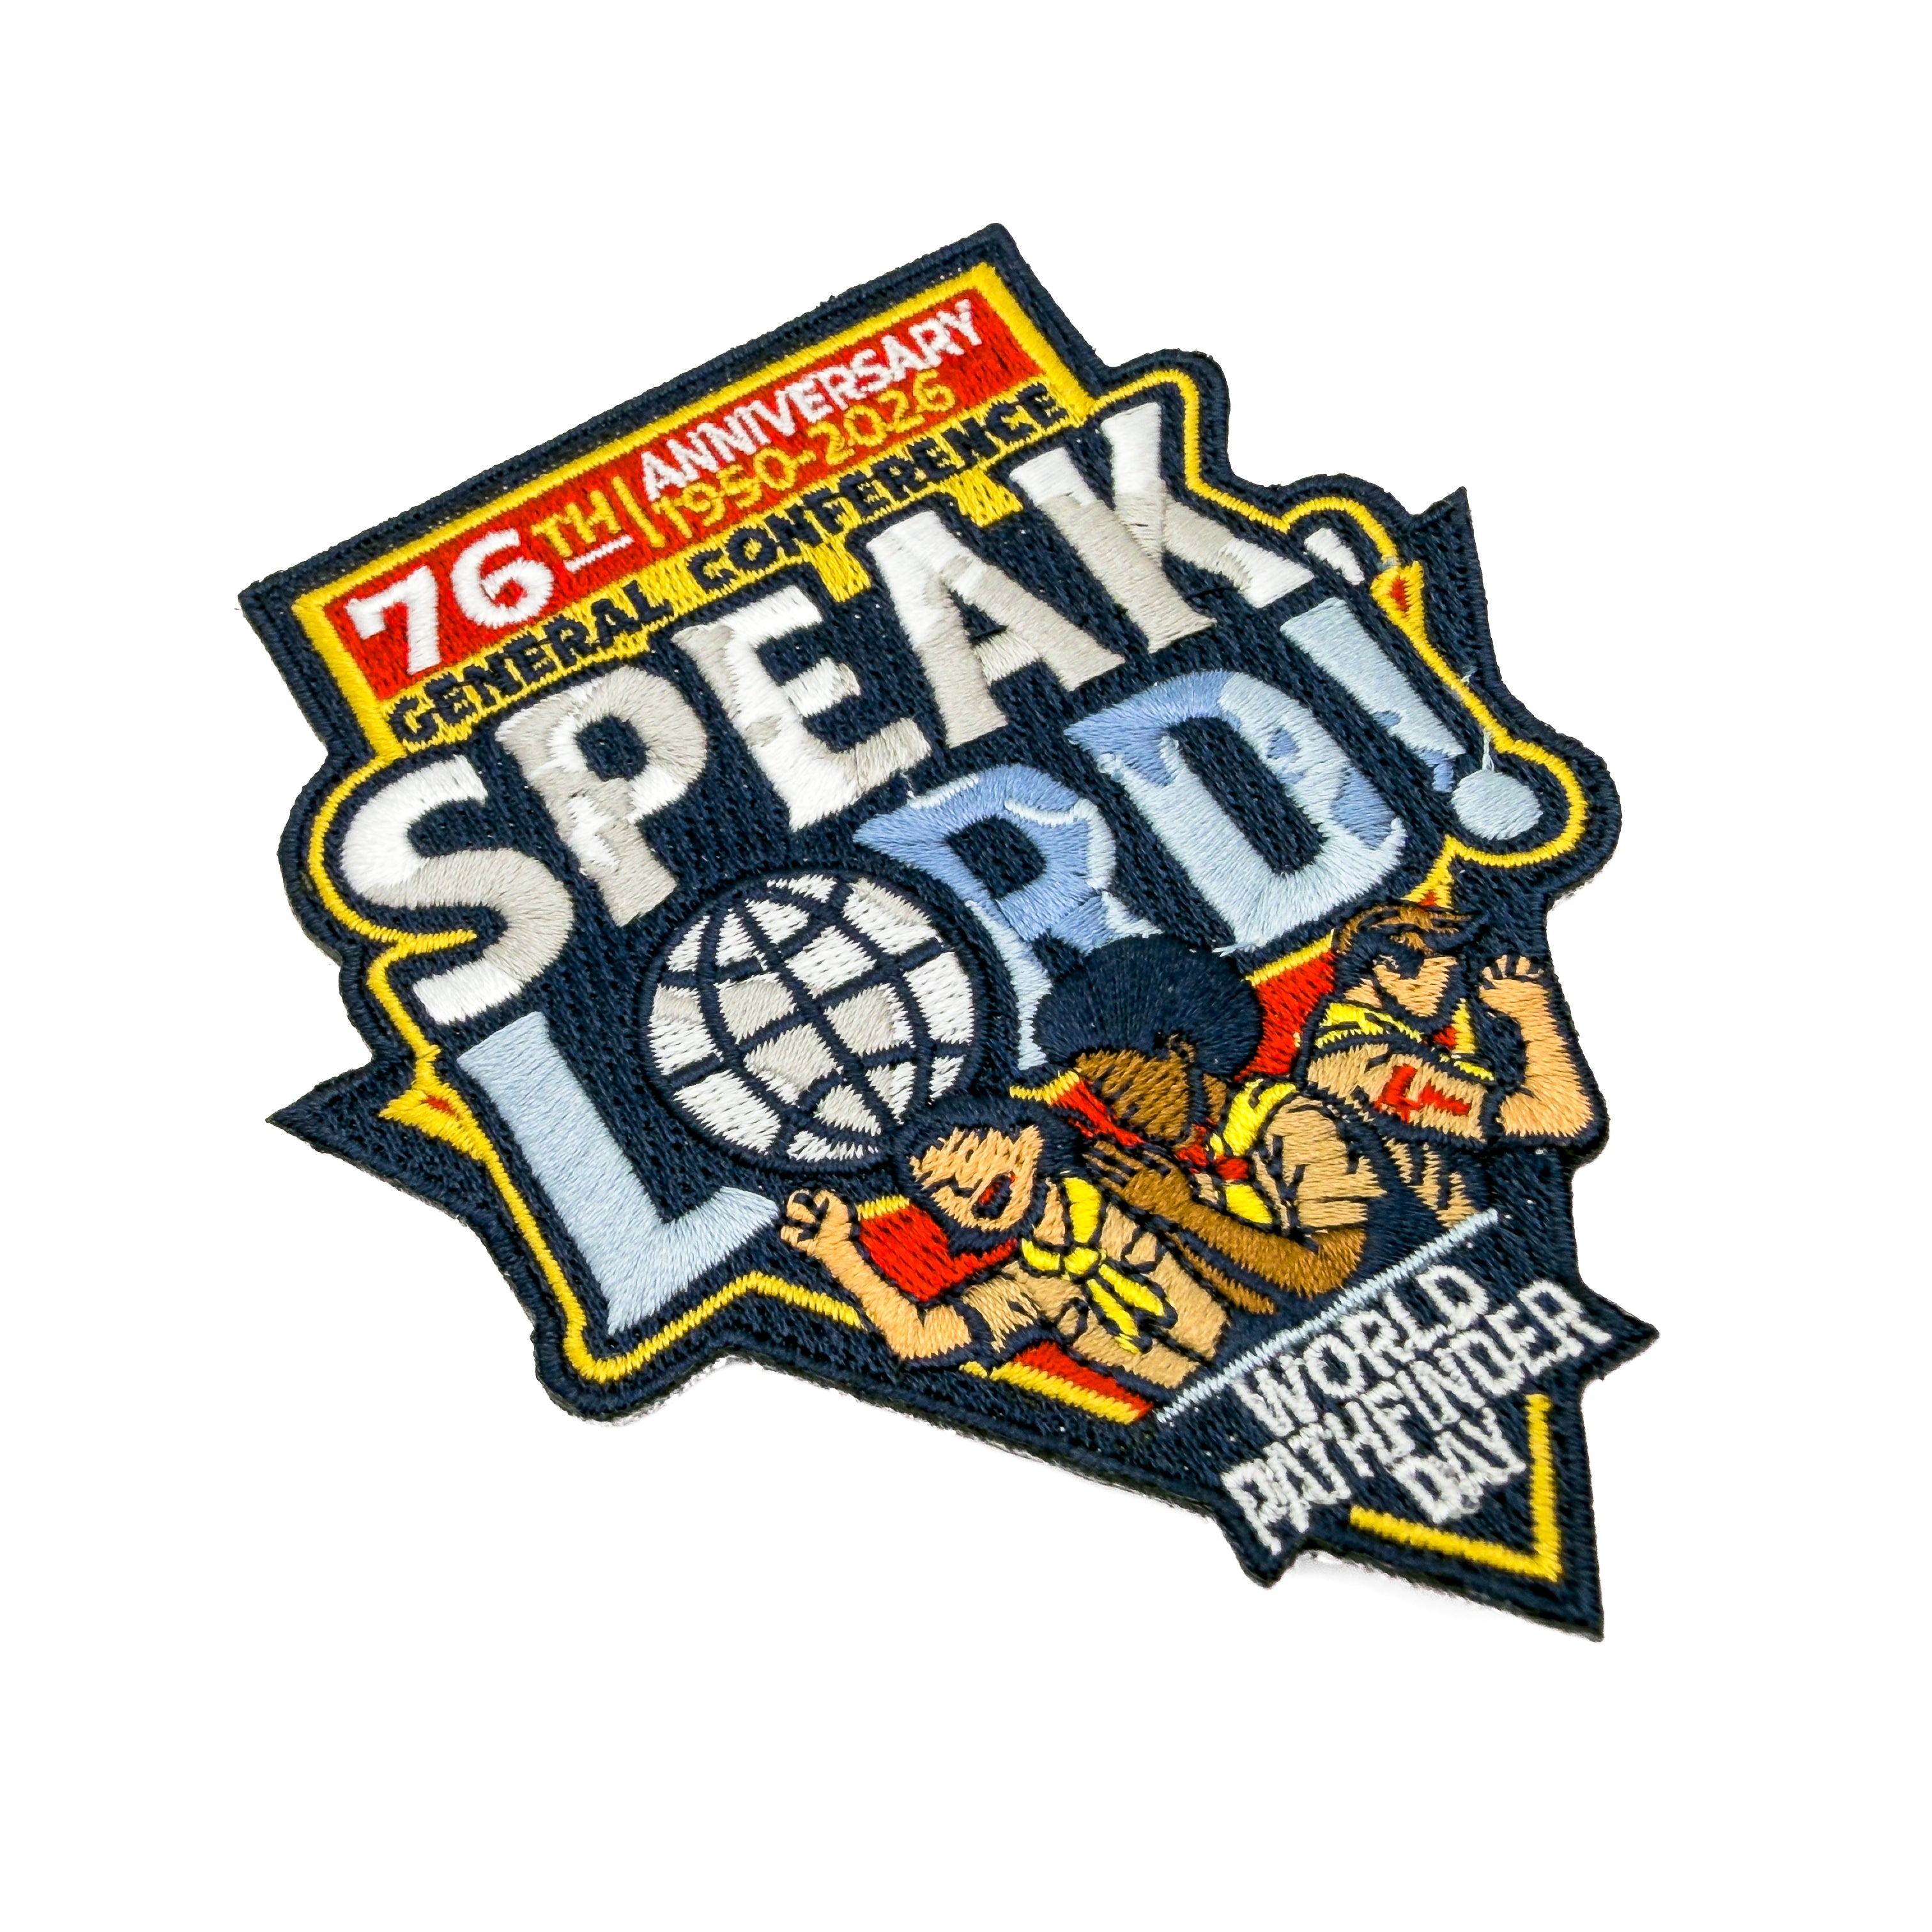
World Pathfinder Day 2026 "Speak Lord" Pin, Patch & Slide (Bundle)
Sale priceR$ 80,00 BRL
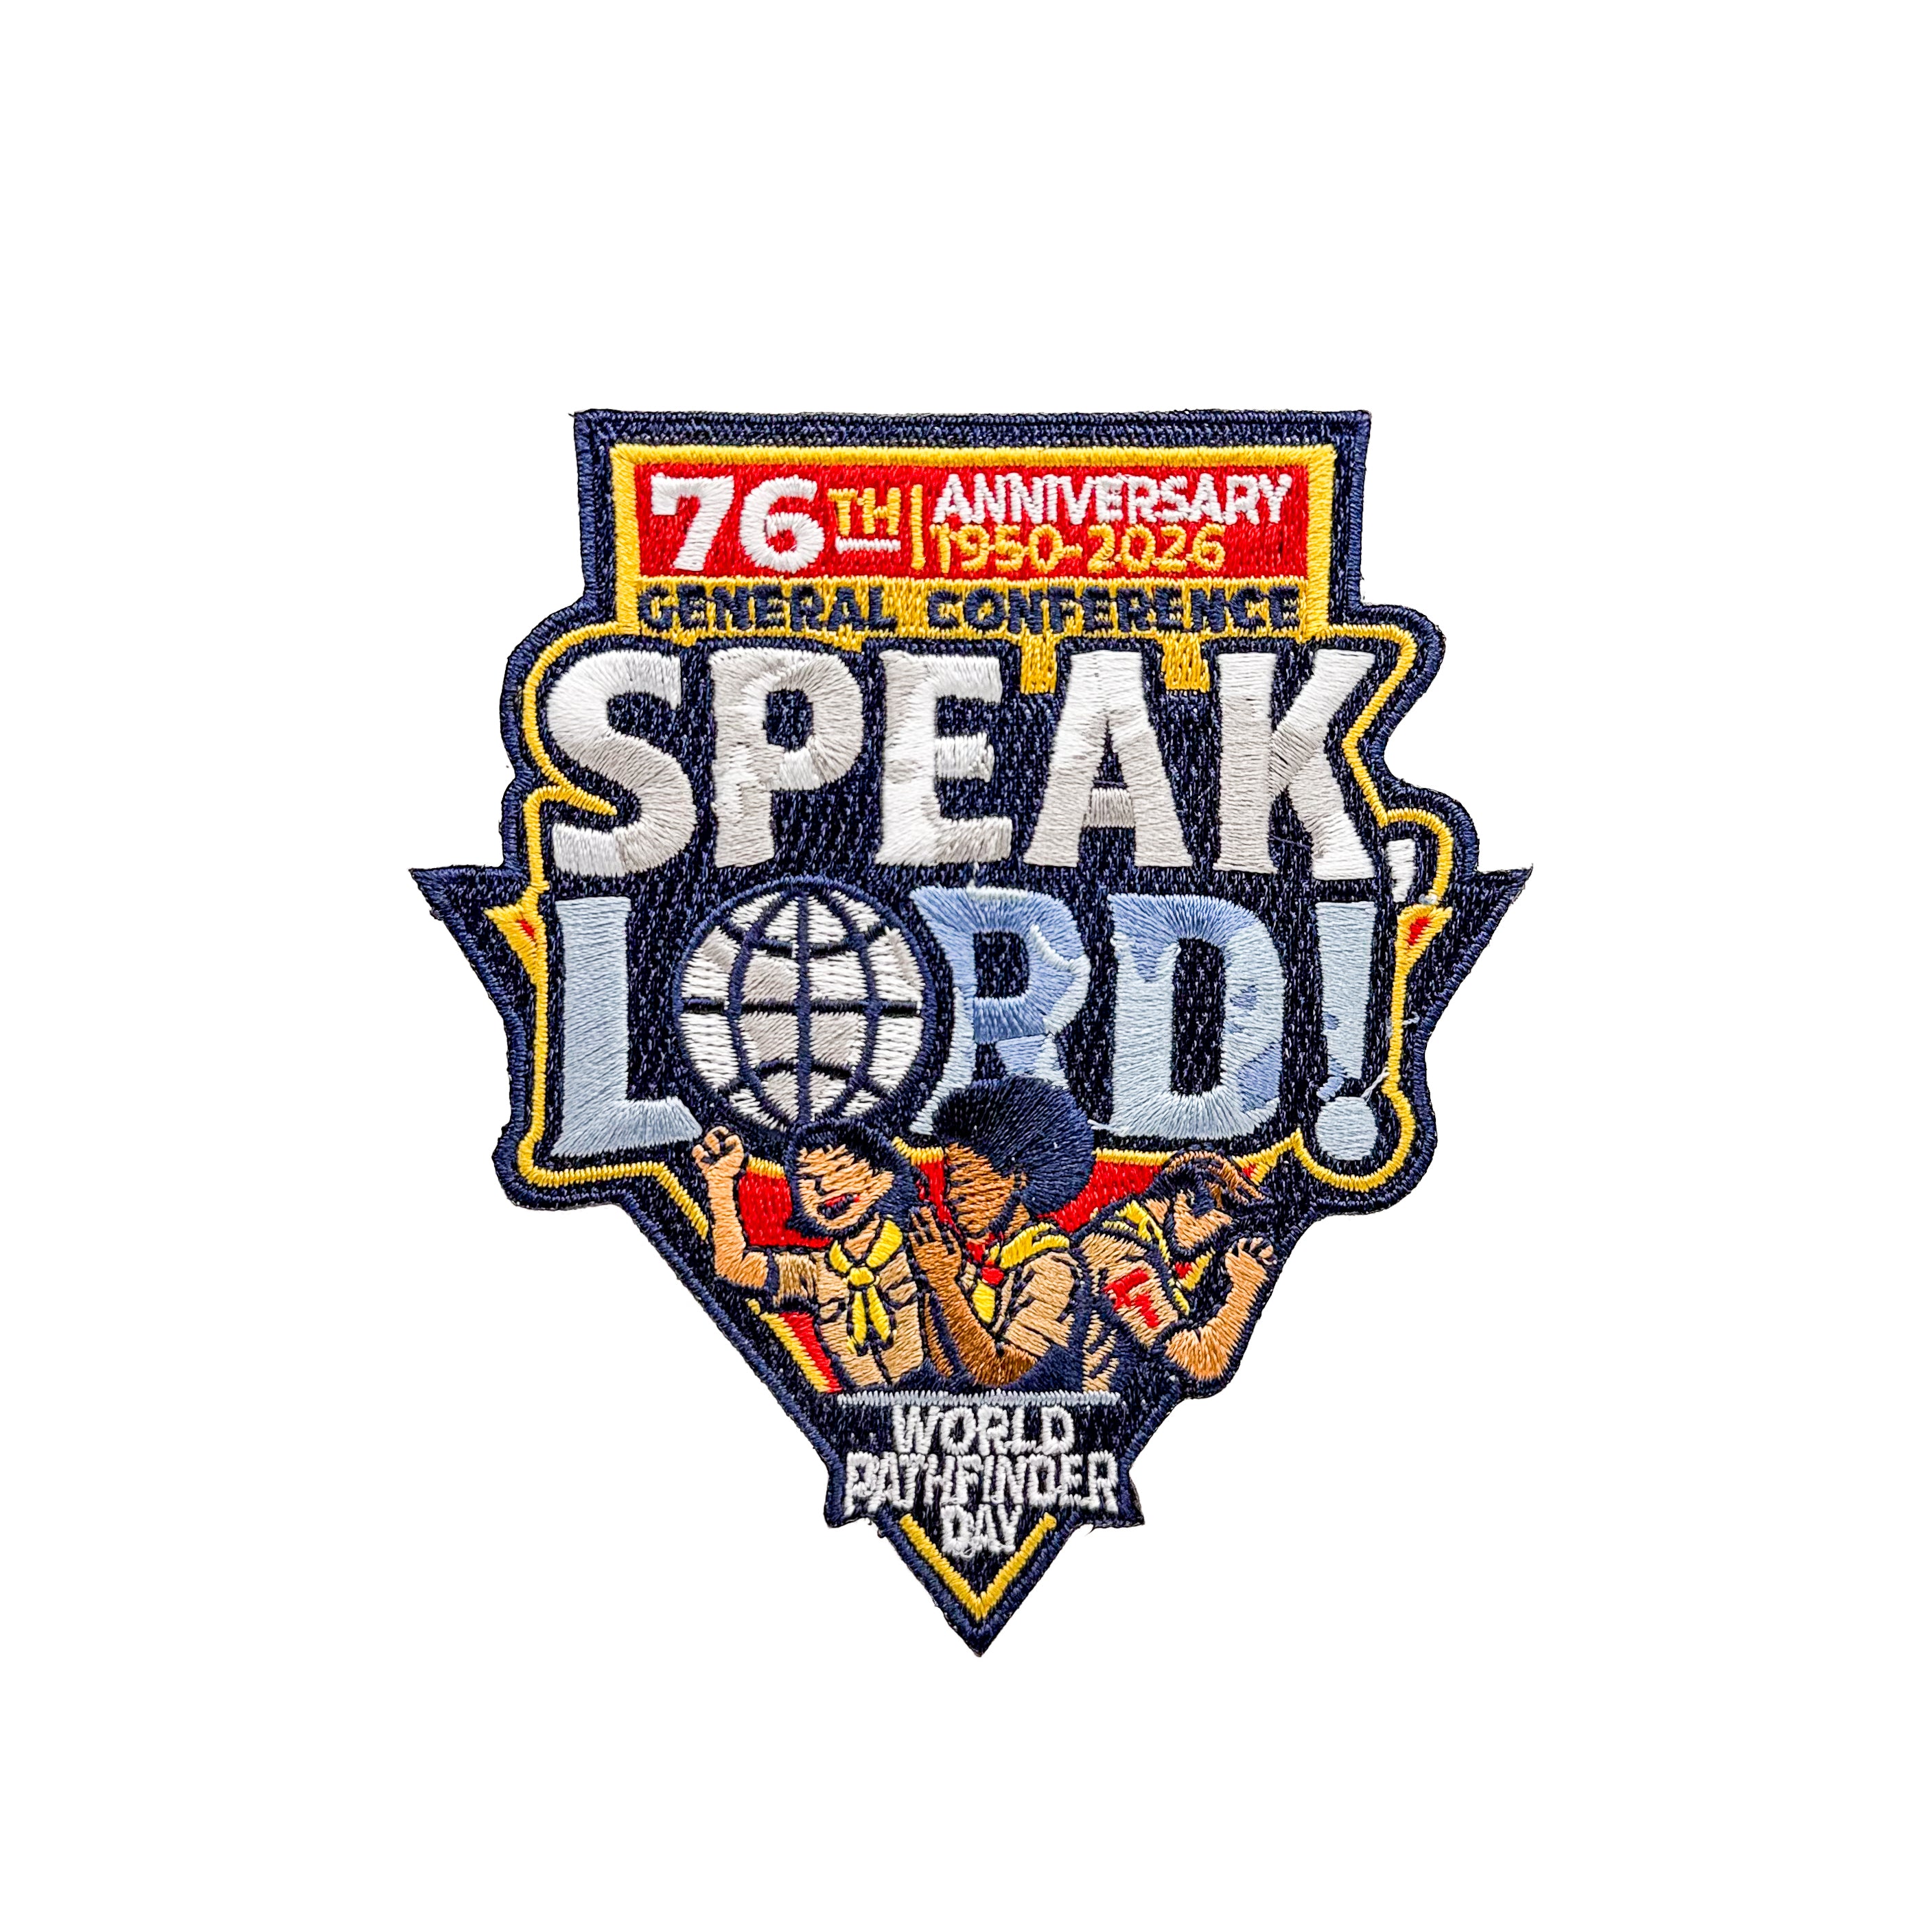
World Pathfinder Day 2026 "Speak Lord" Patch
Sale priceR$ 27,00 BRL
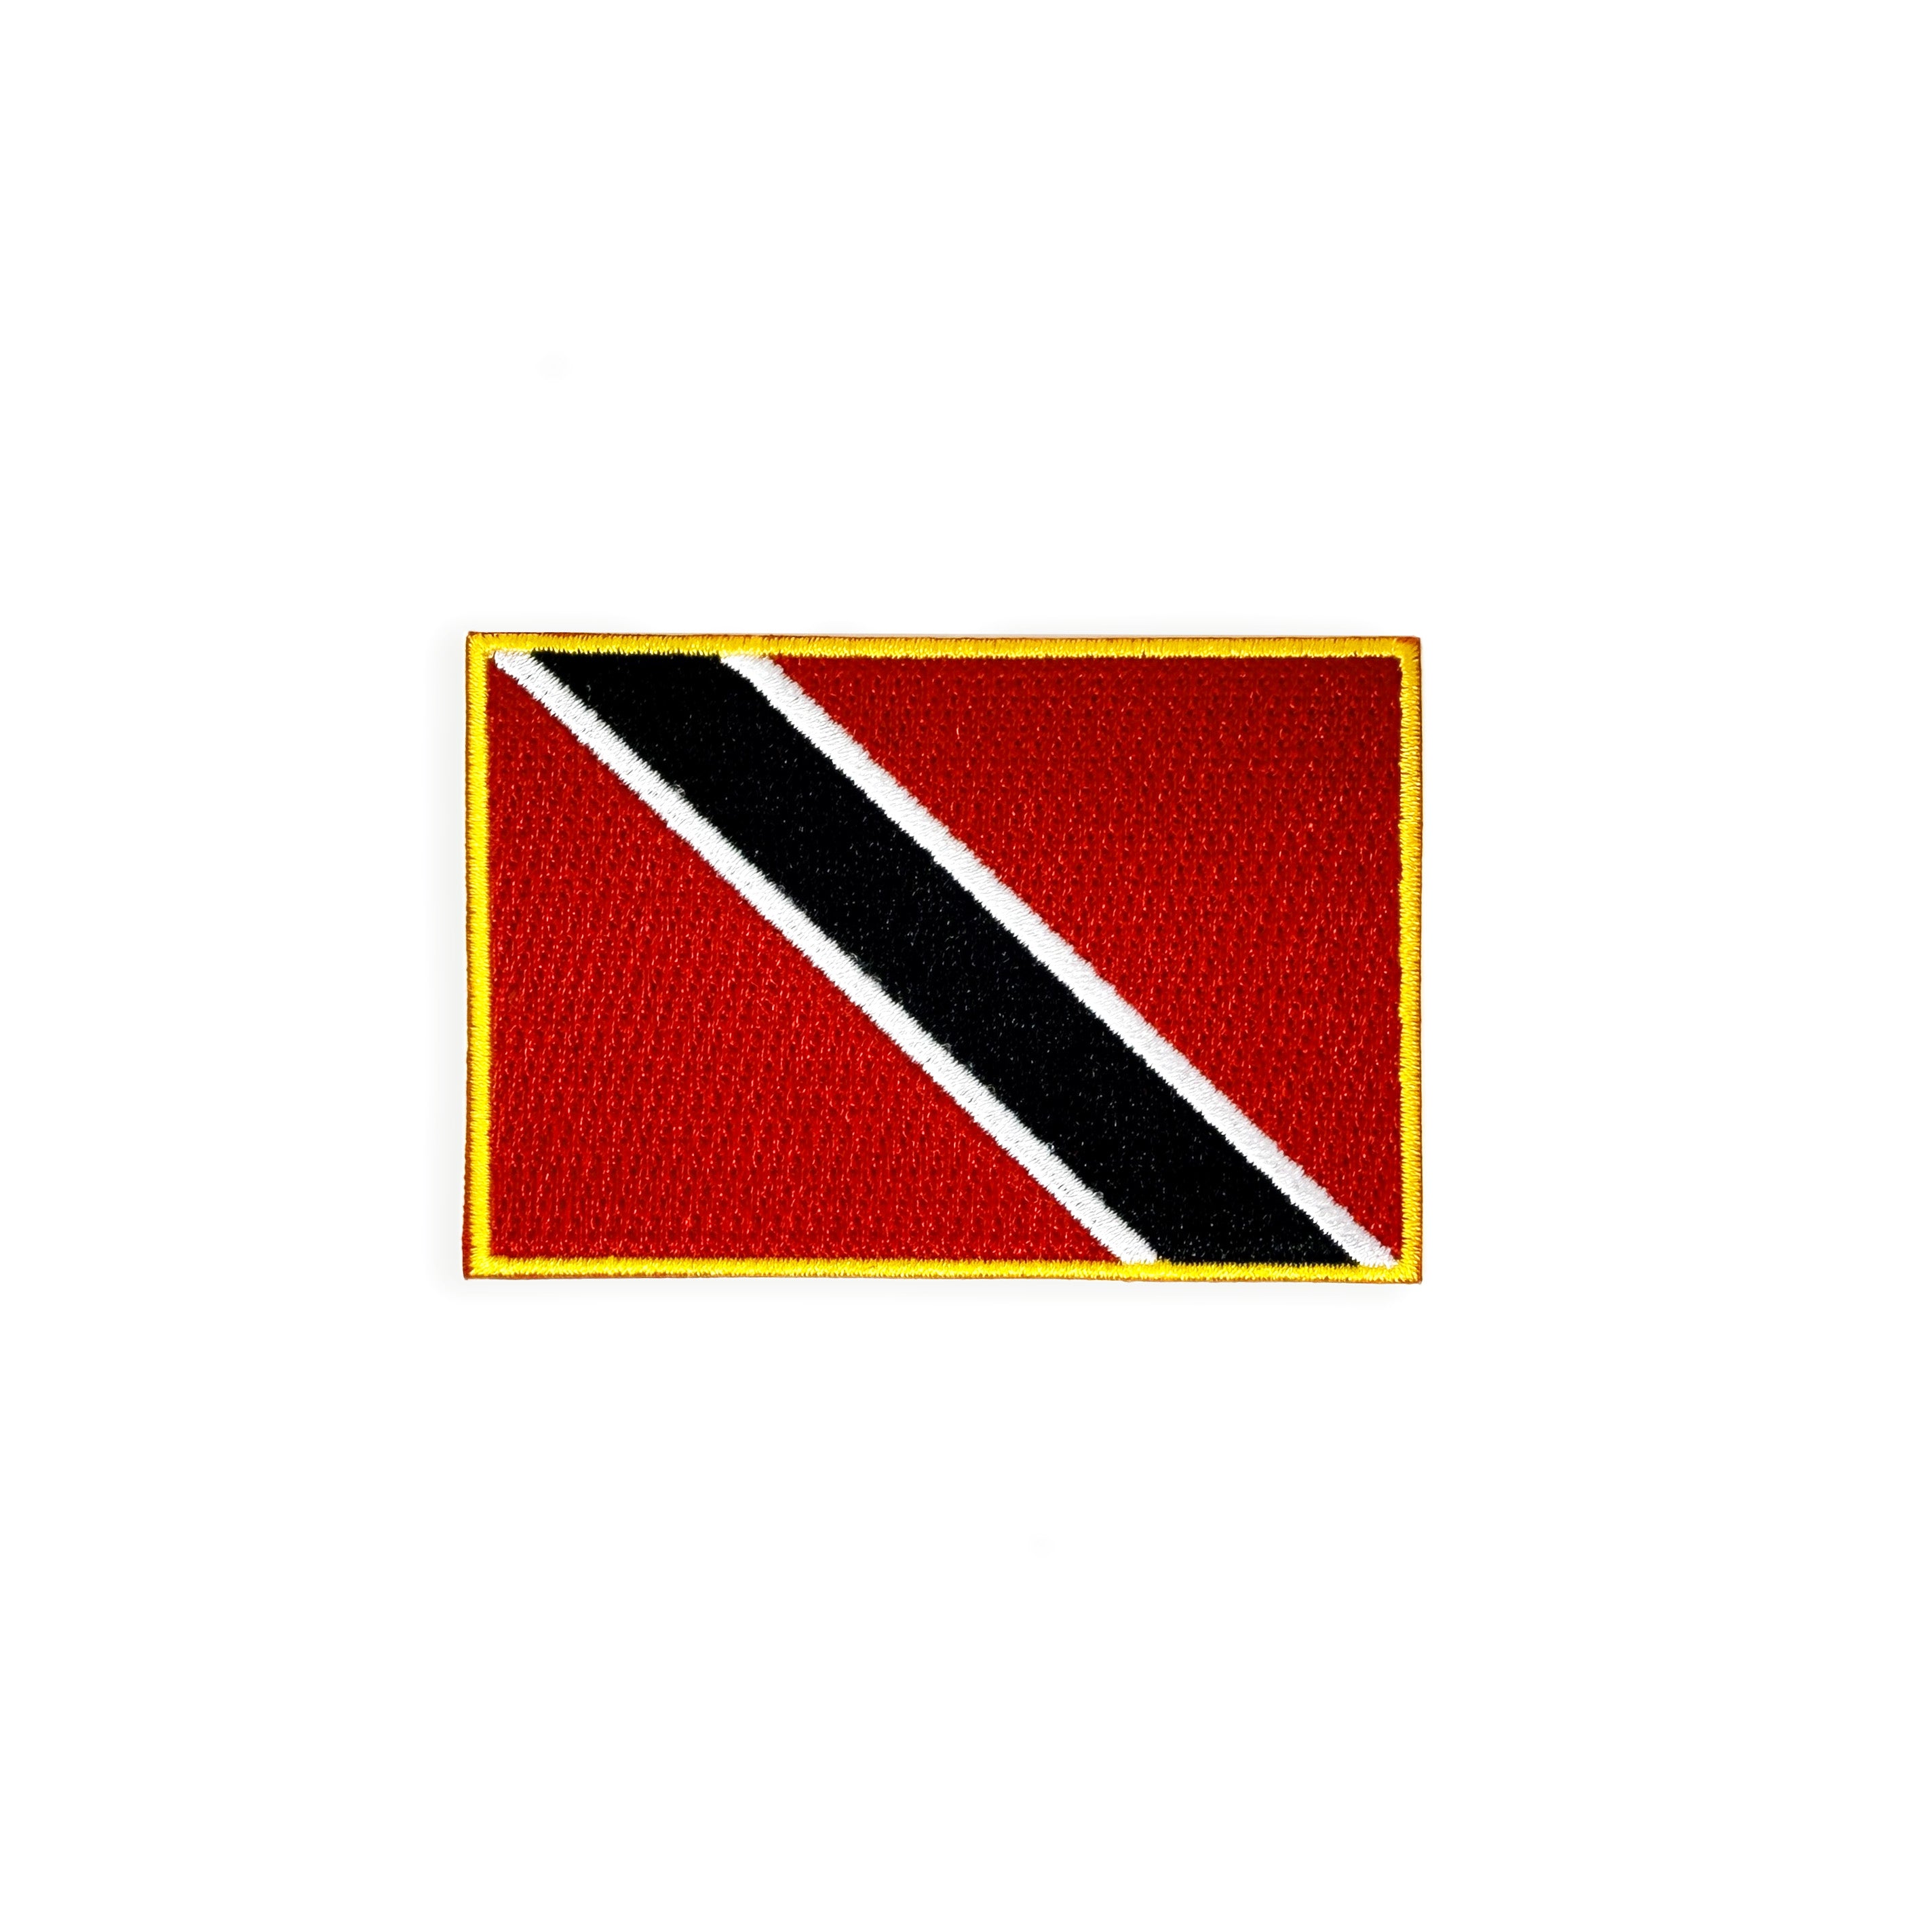
Trinidad and Tobago Flag Patch
Sale priceR$ 22,00 BRL
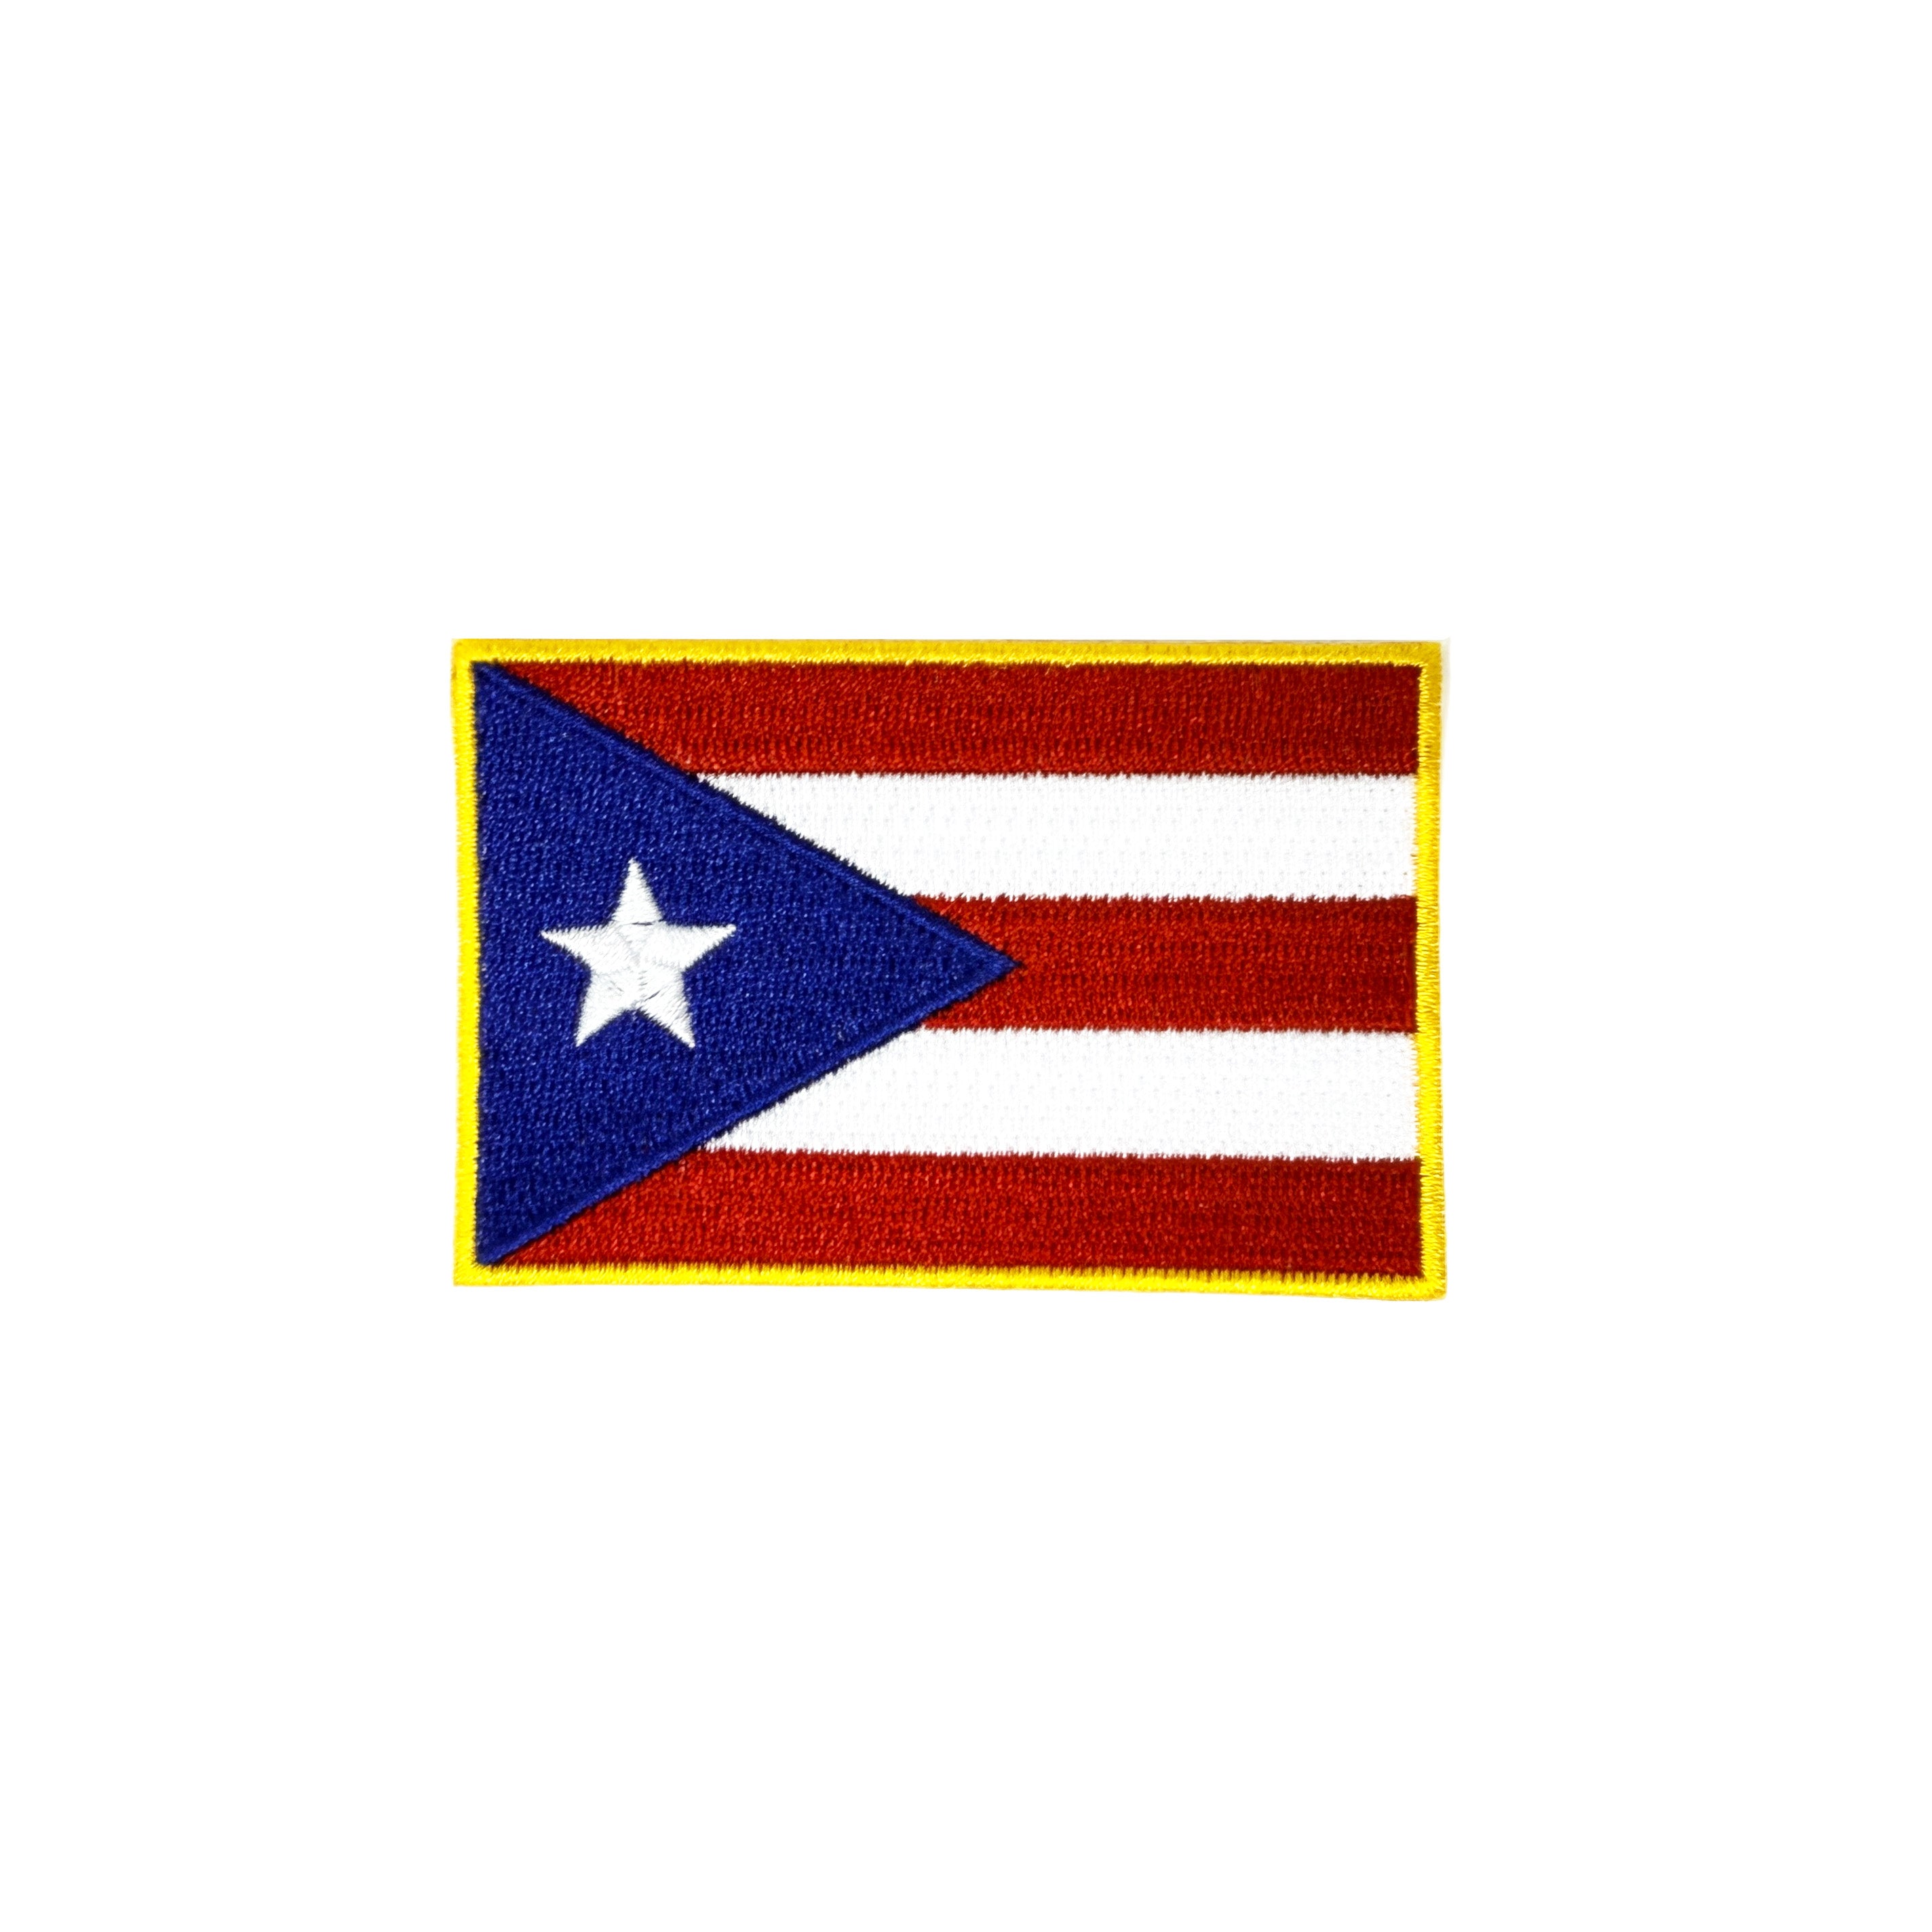
Puerto Rico Flag Patch
Sale priceR$ 22,00 BRL
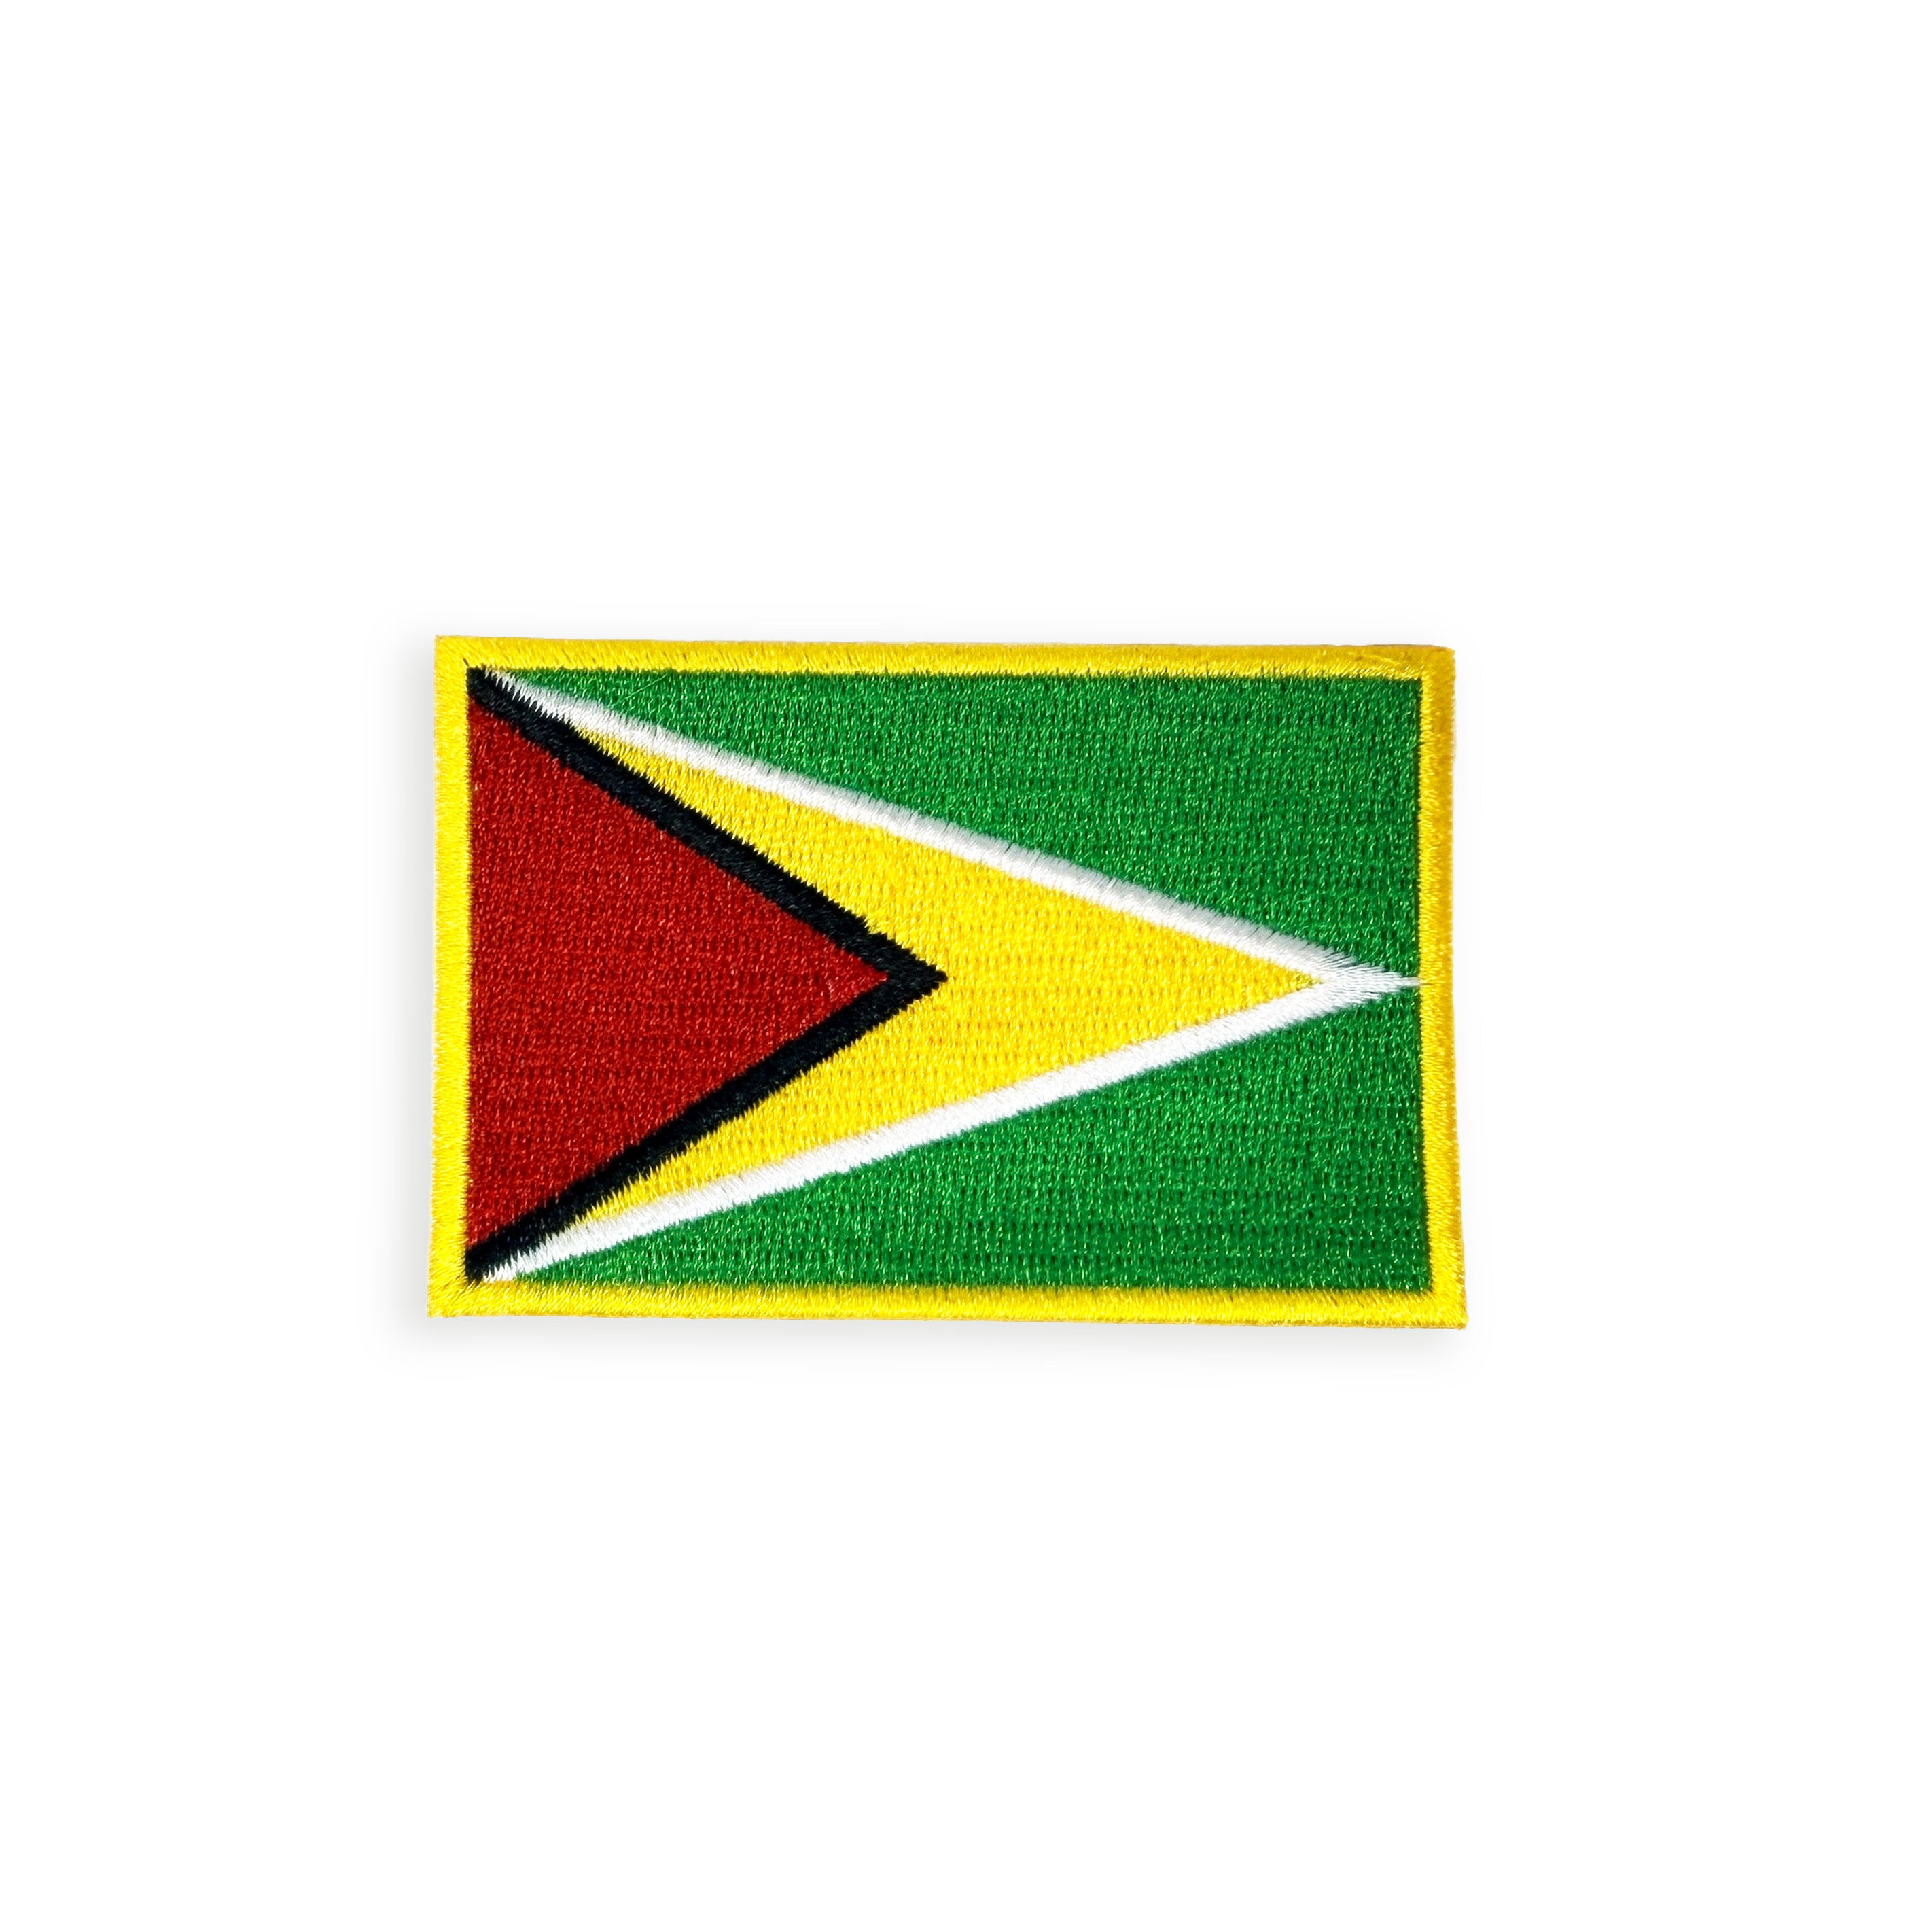
Guyana Flag Patch
Sale priceR$ 22,00 BRL
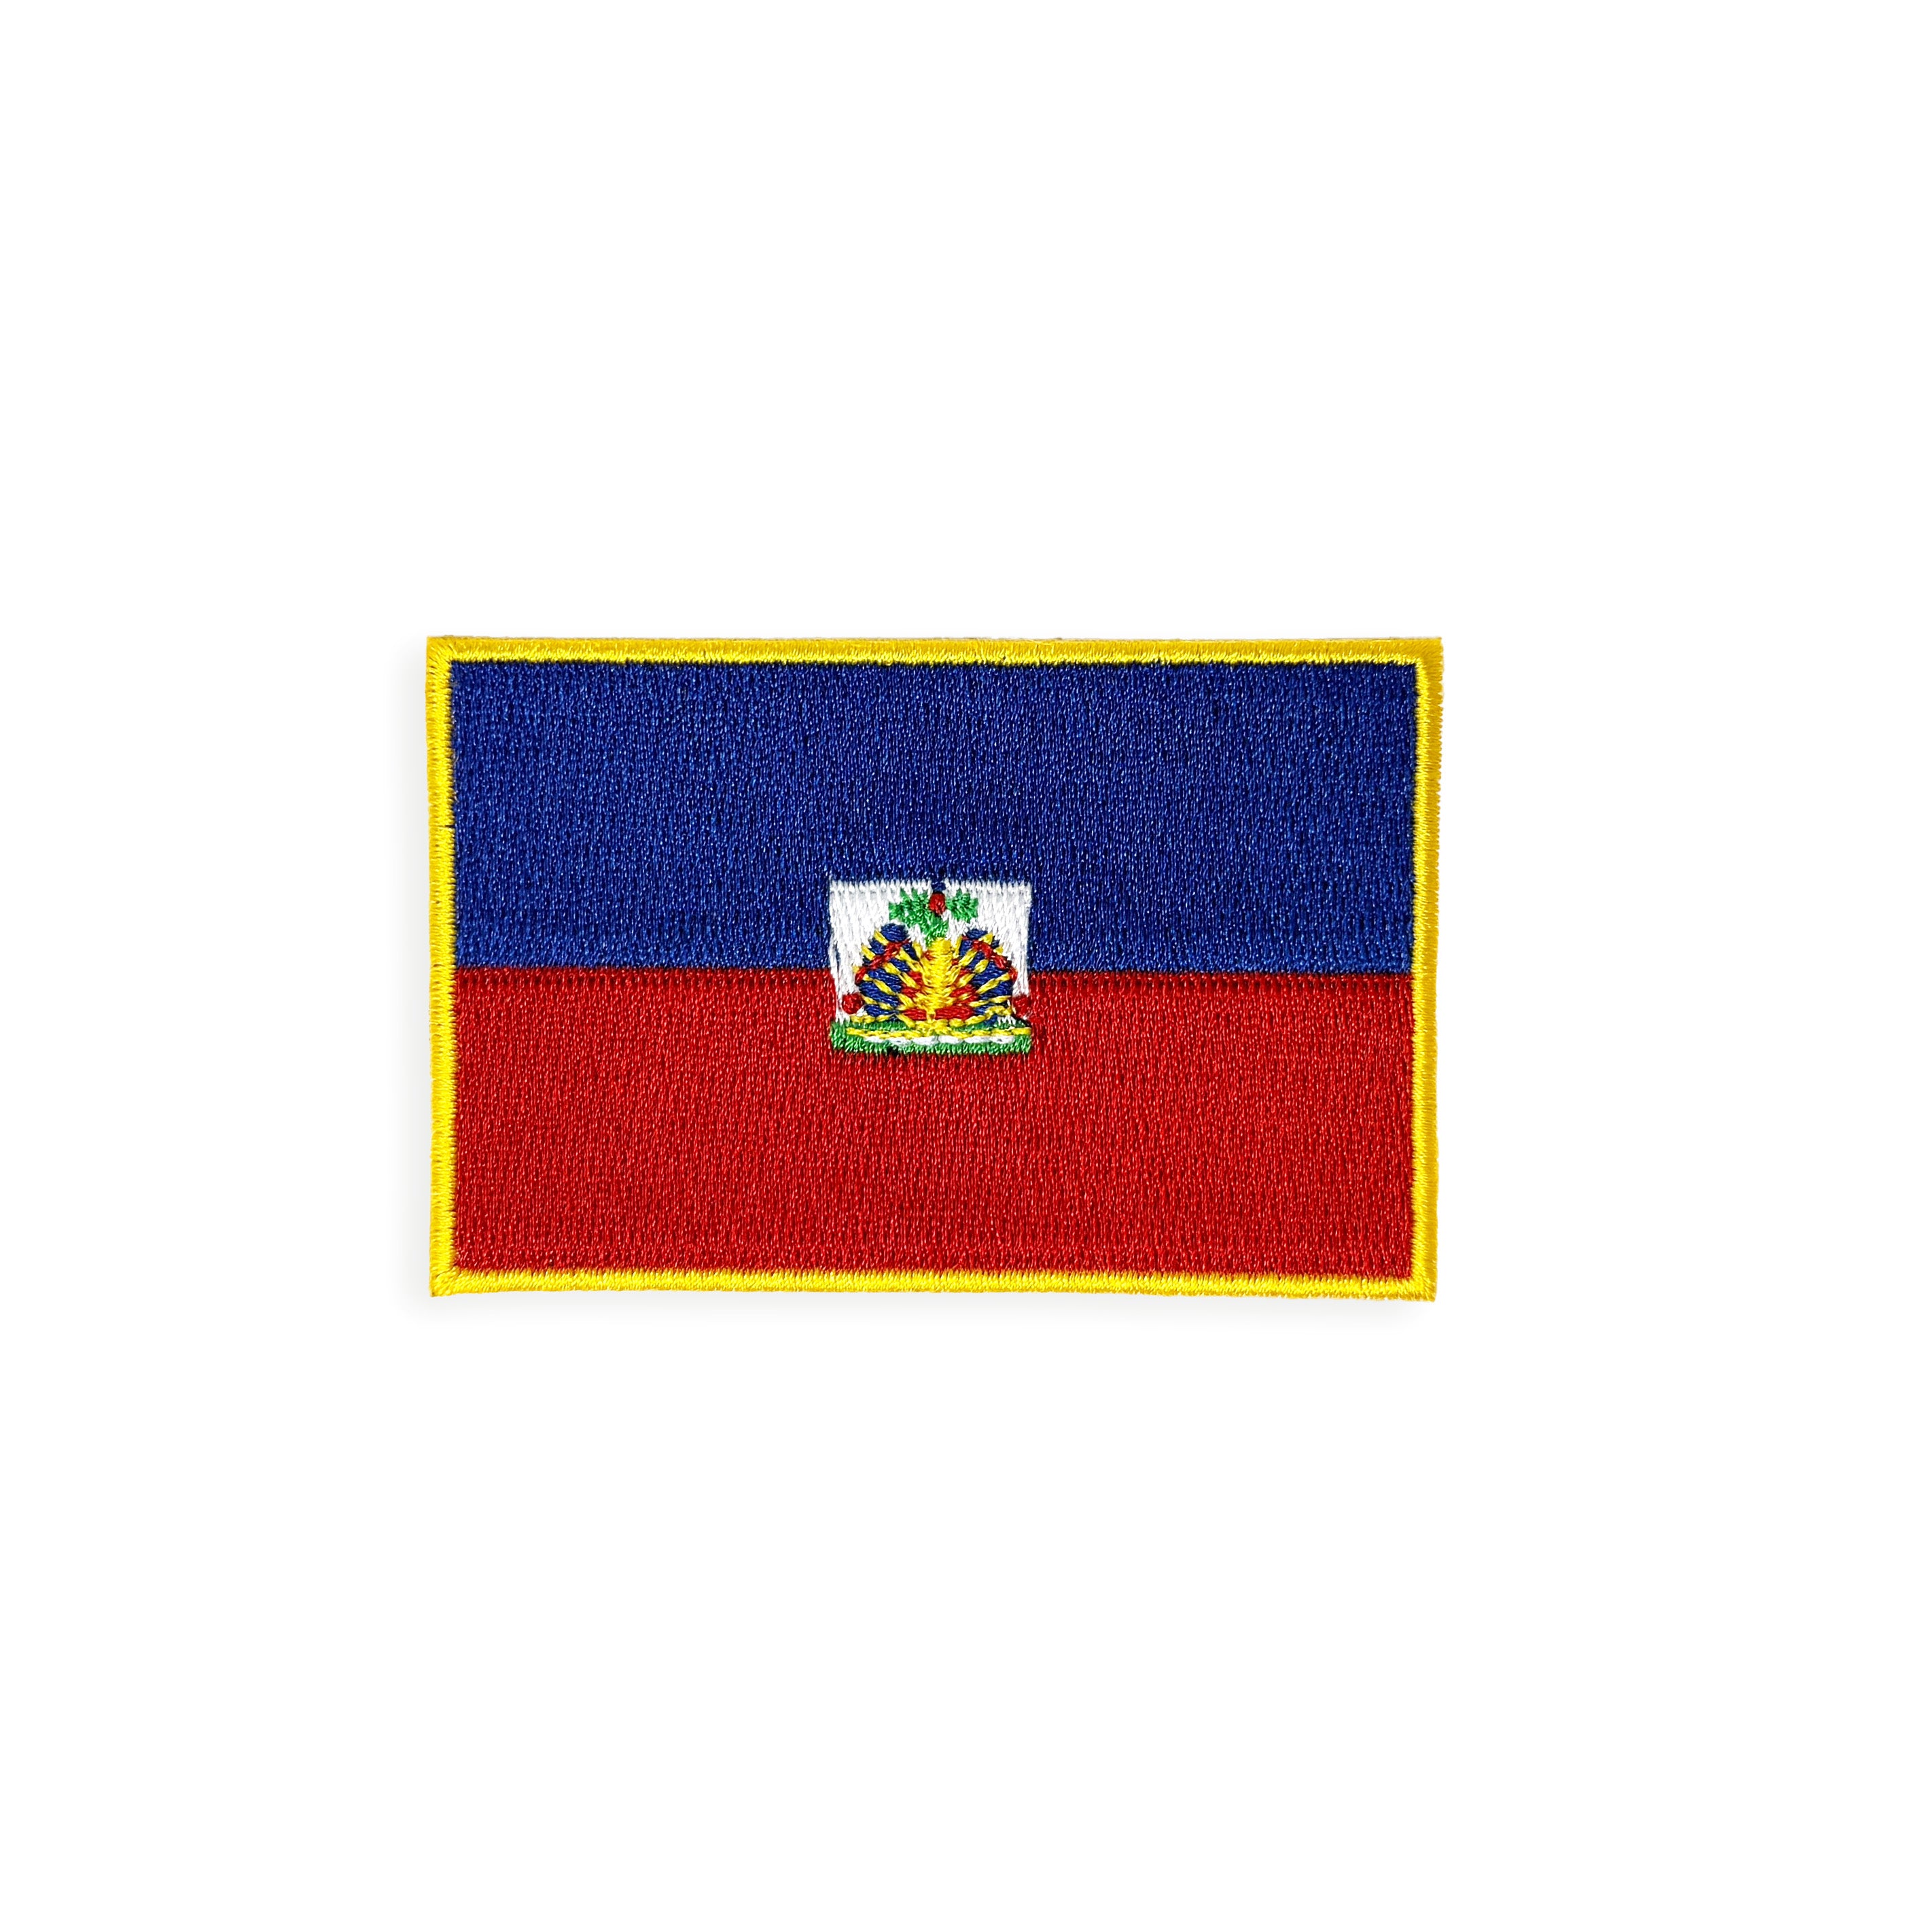
Haiti Flag Patch
Sale priceR$ 22,00 BRL

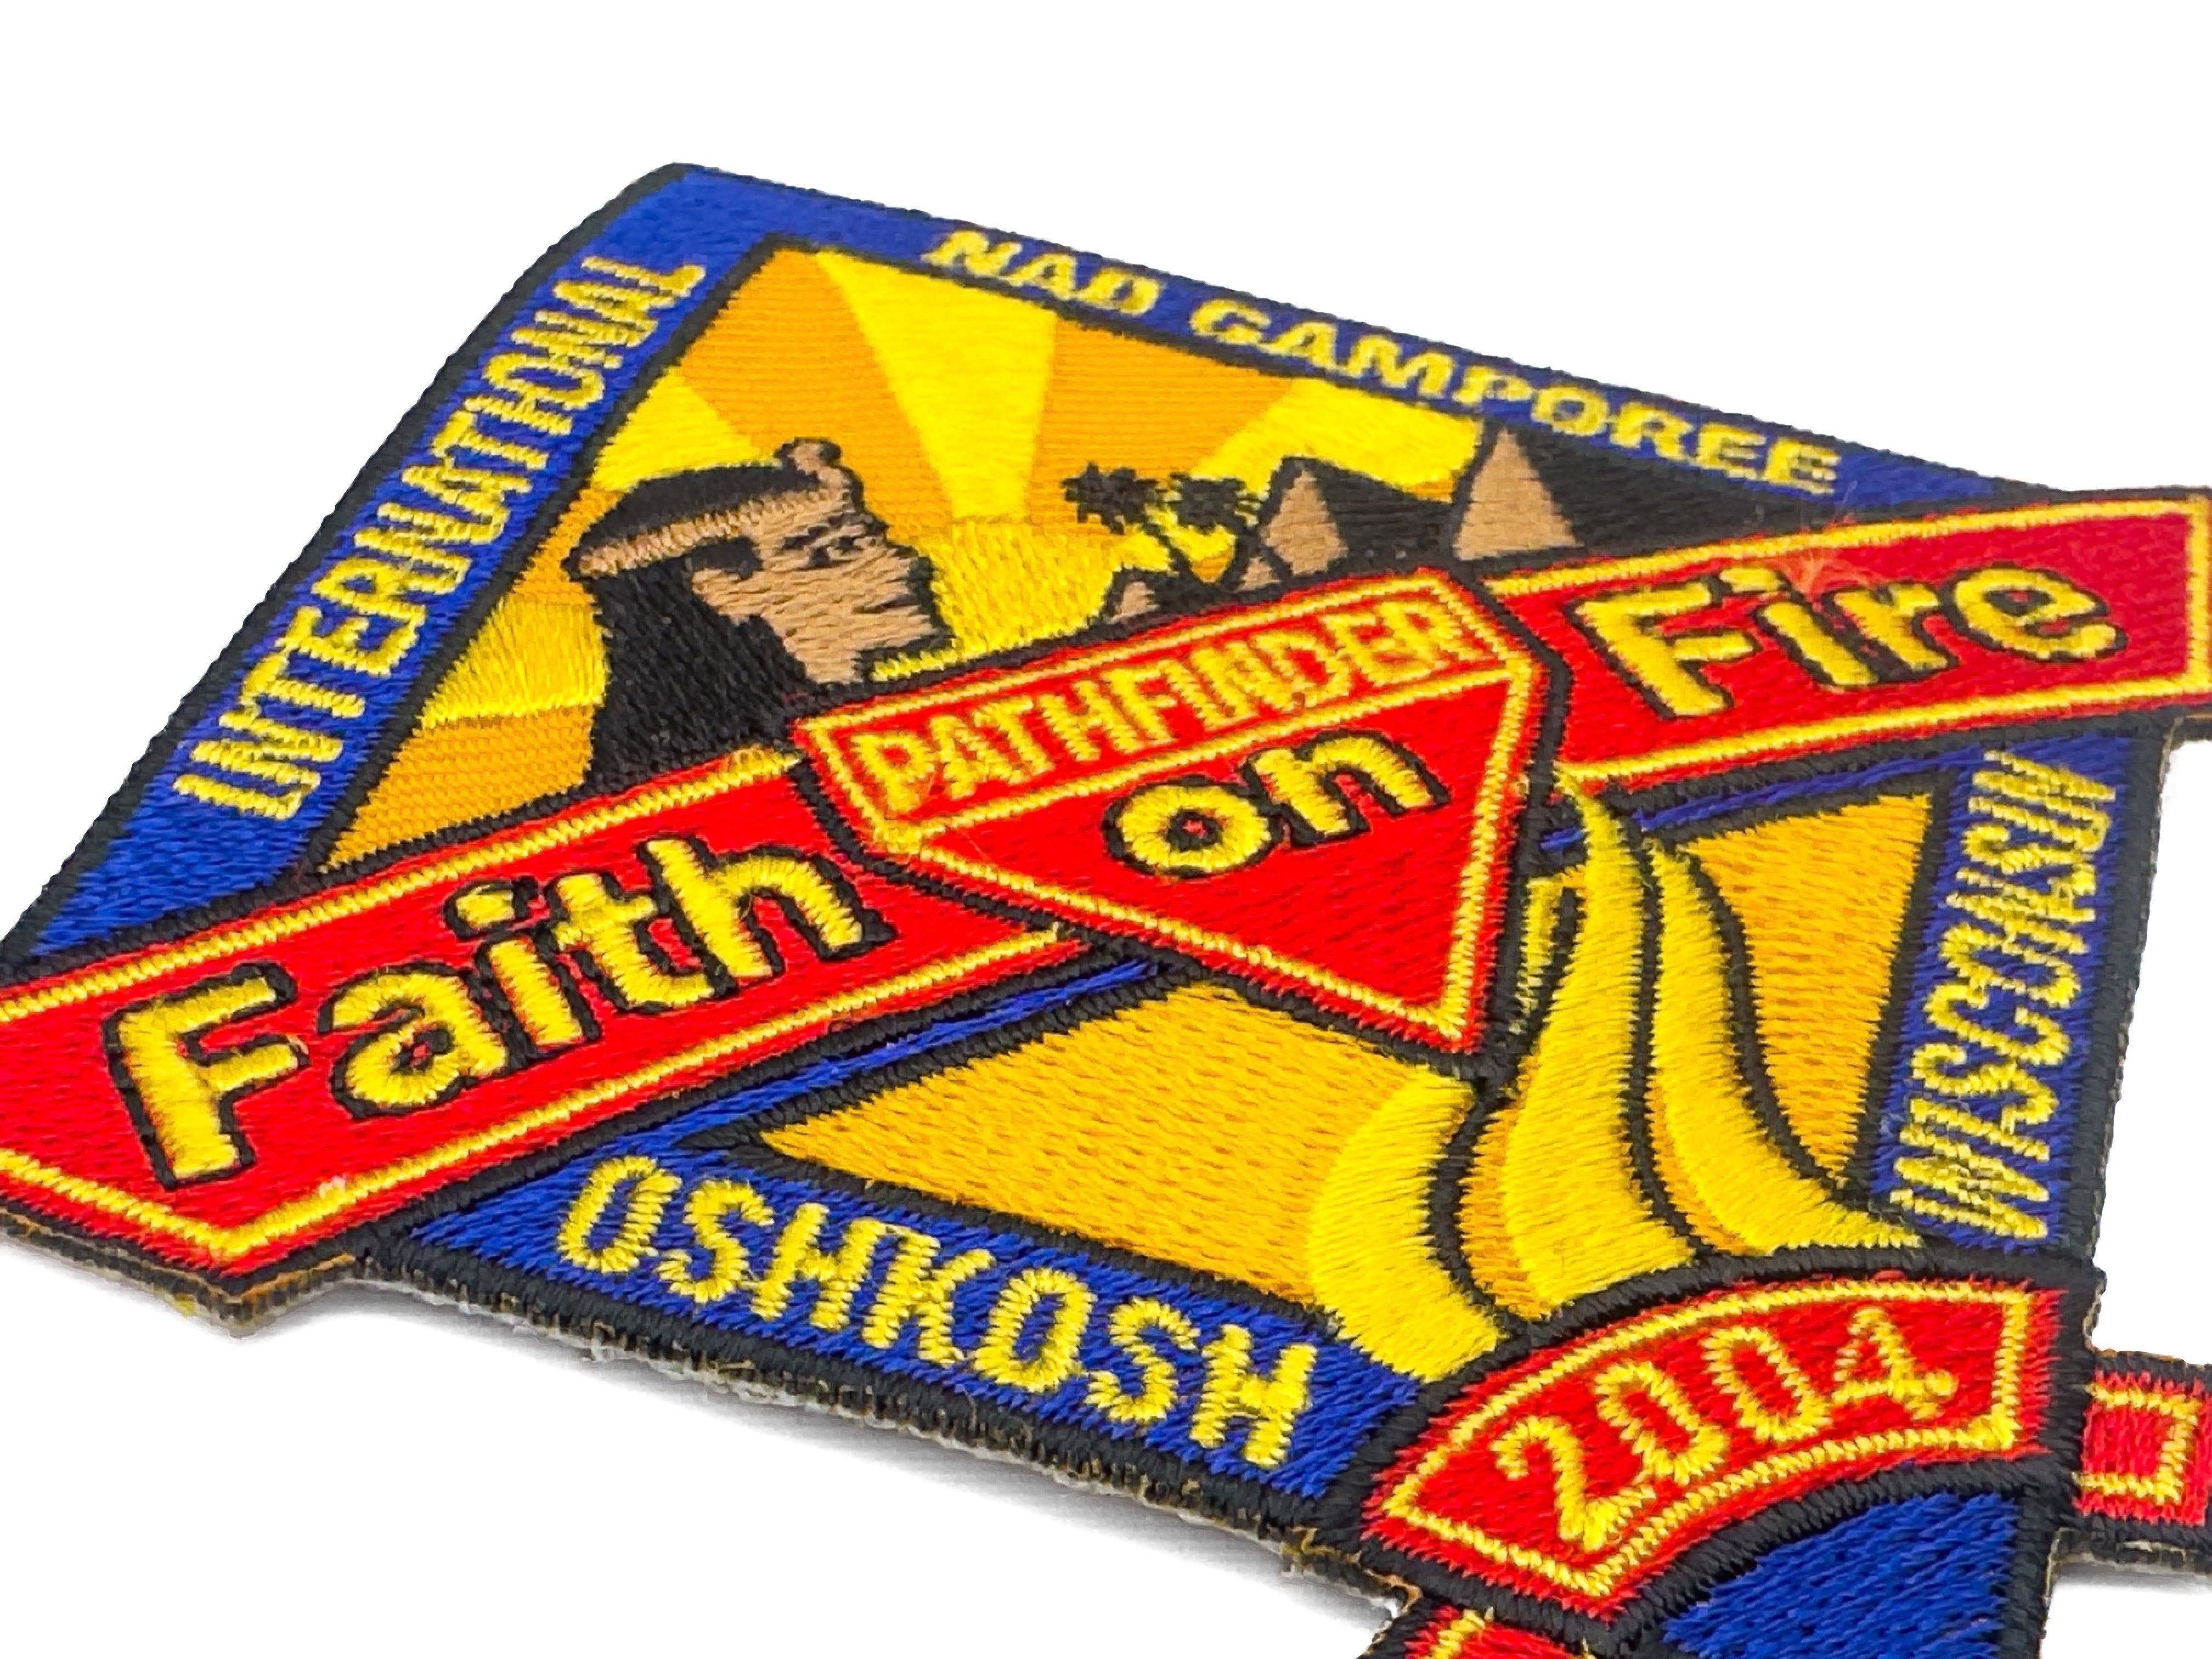
Faith on Fire 2004 International Pathfinder Camporee Official Patch
Sale priceR$ 80,00 BRL

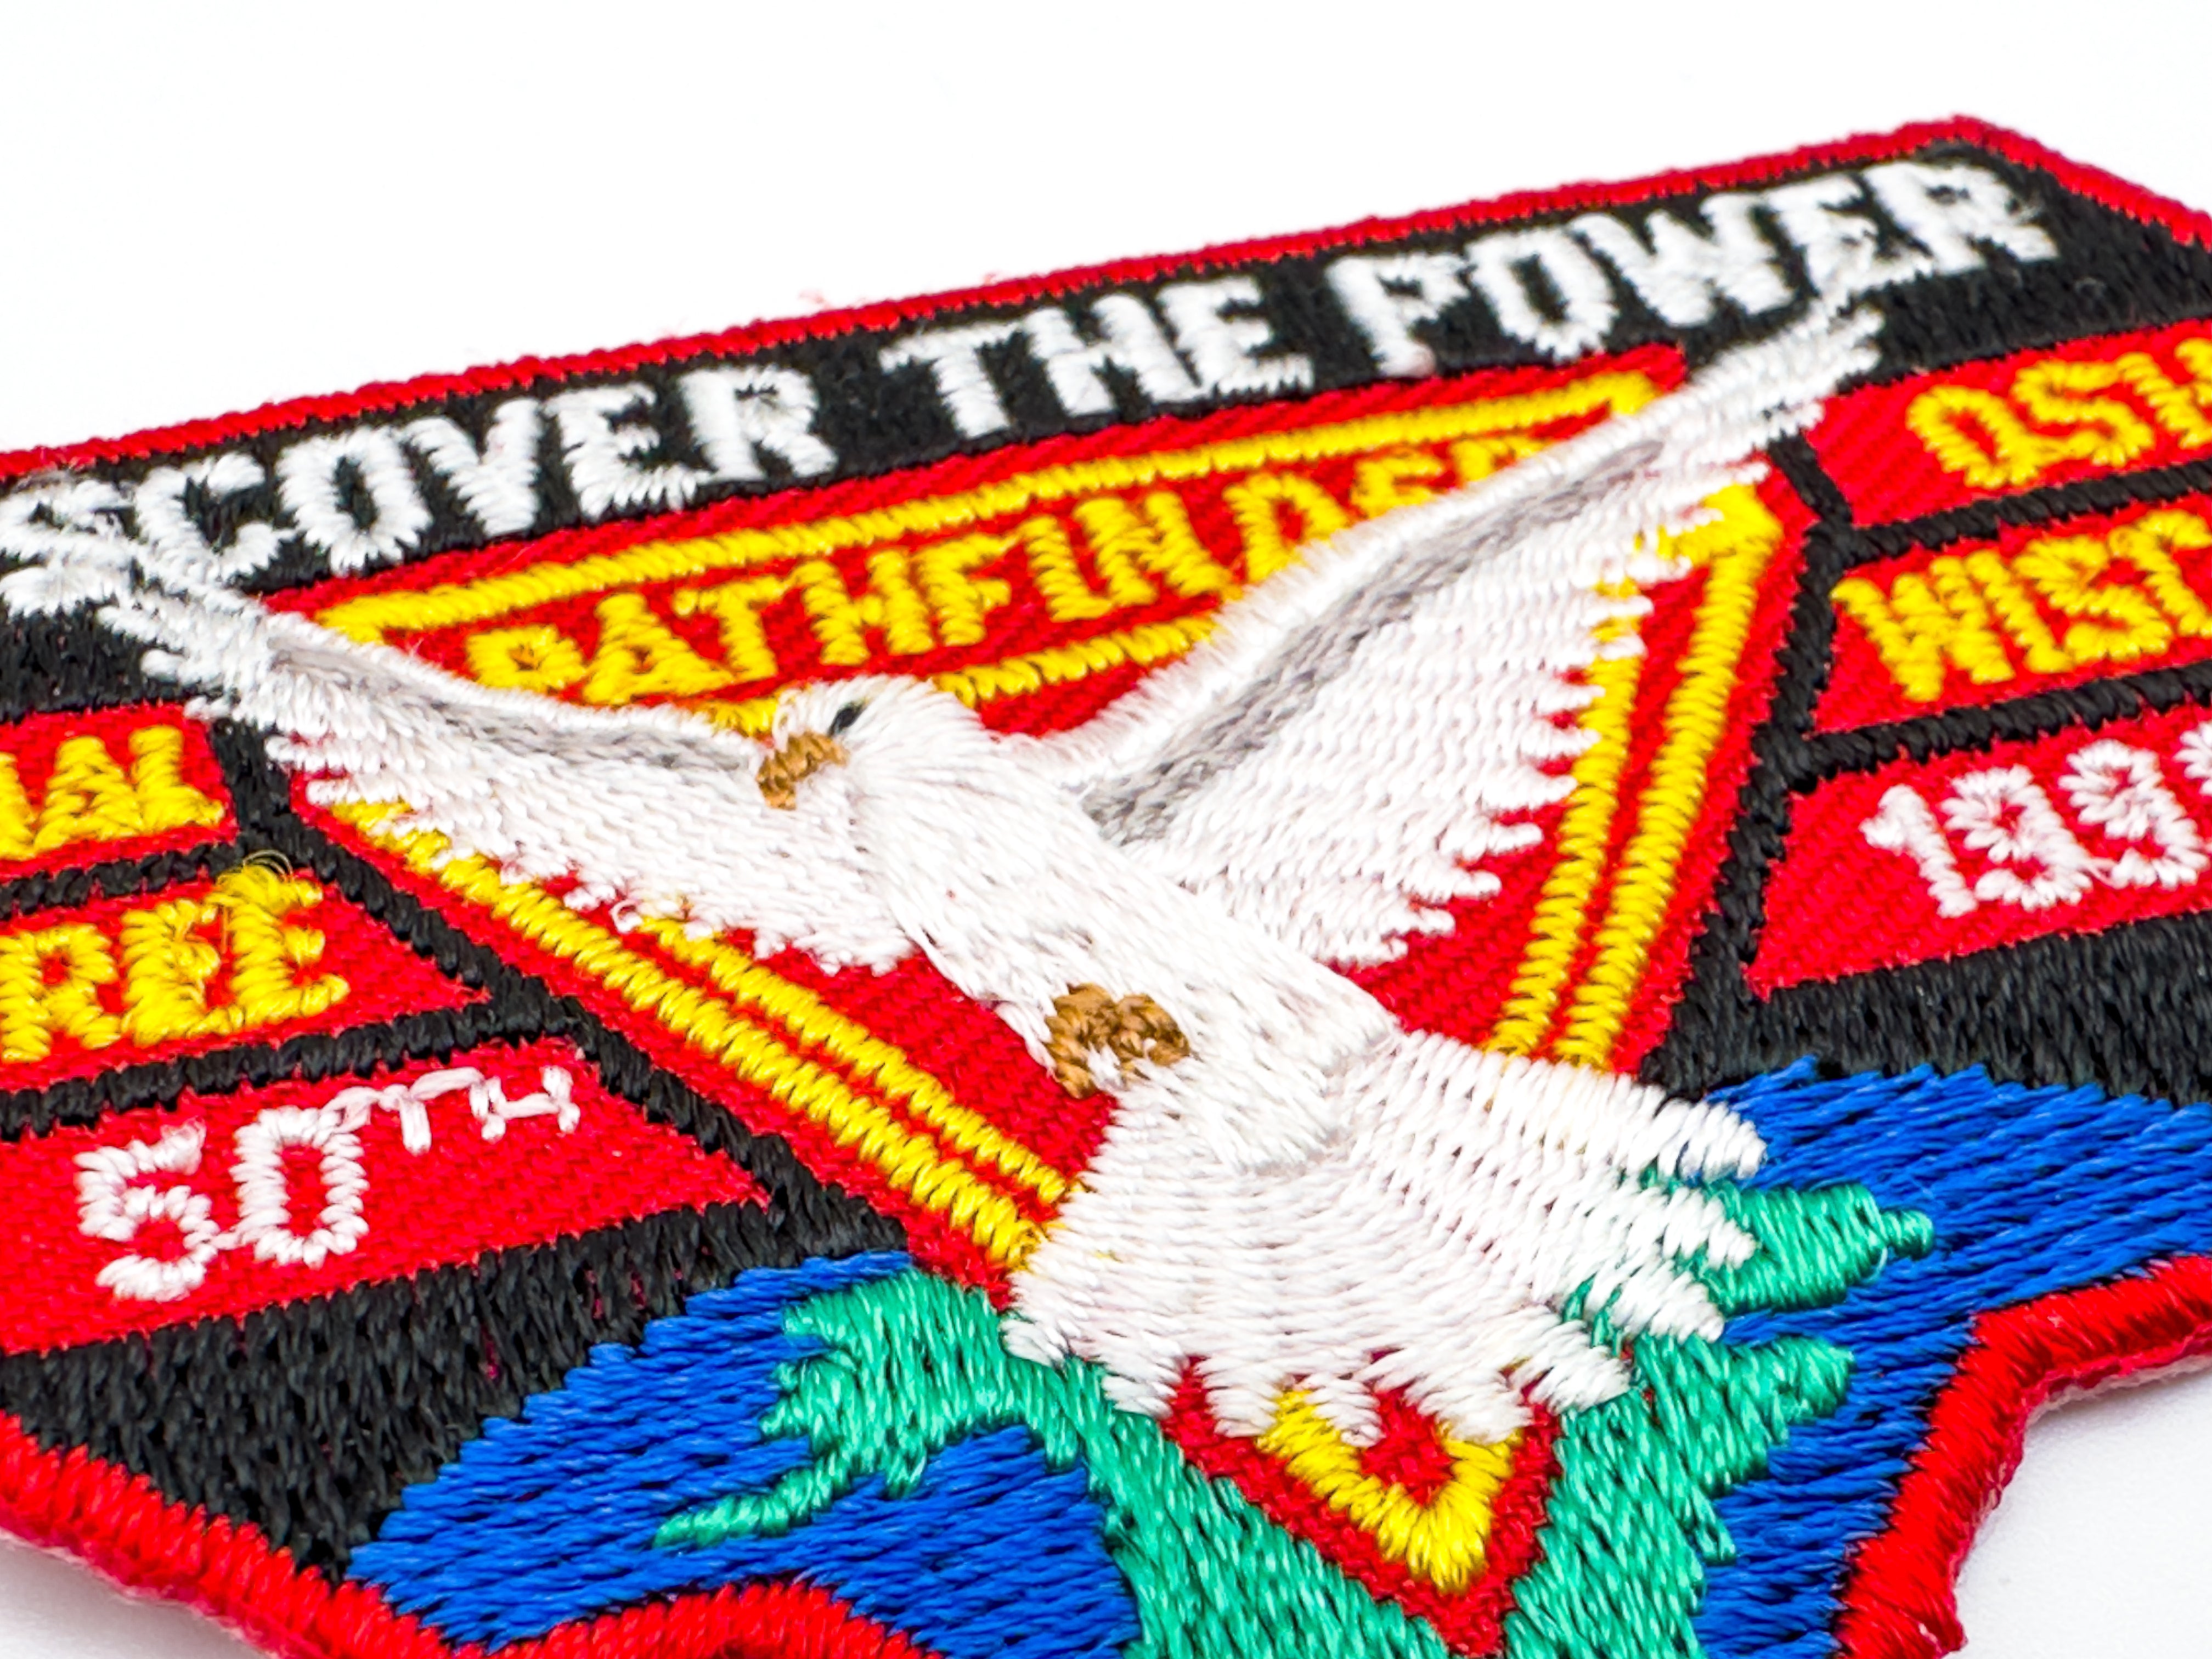
Discover the Power 1999 International Pathfinder Camporee Official Patch
Sale priceR$ 80,00 BRL
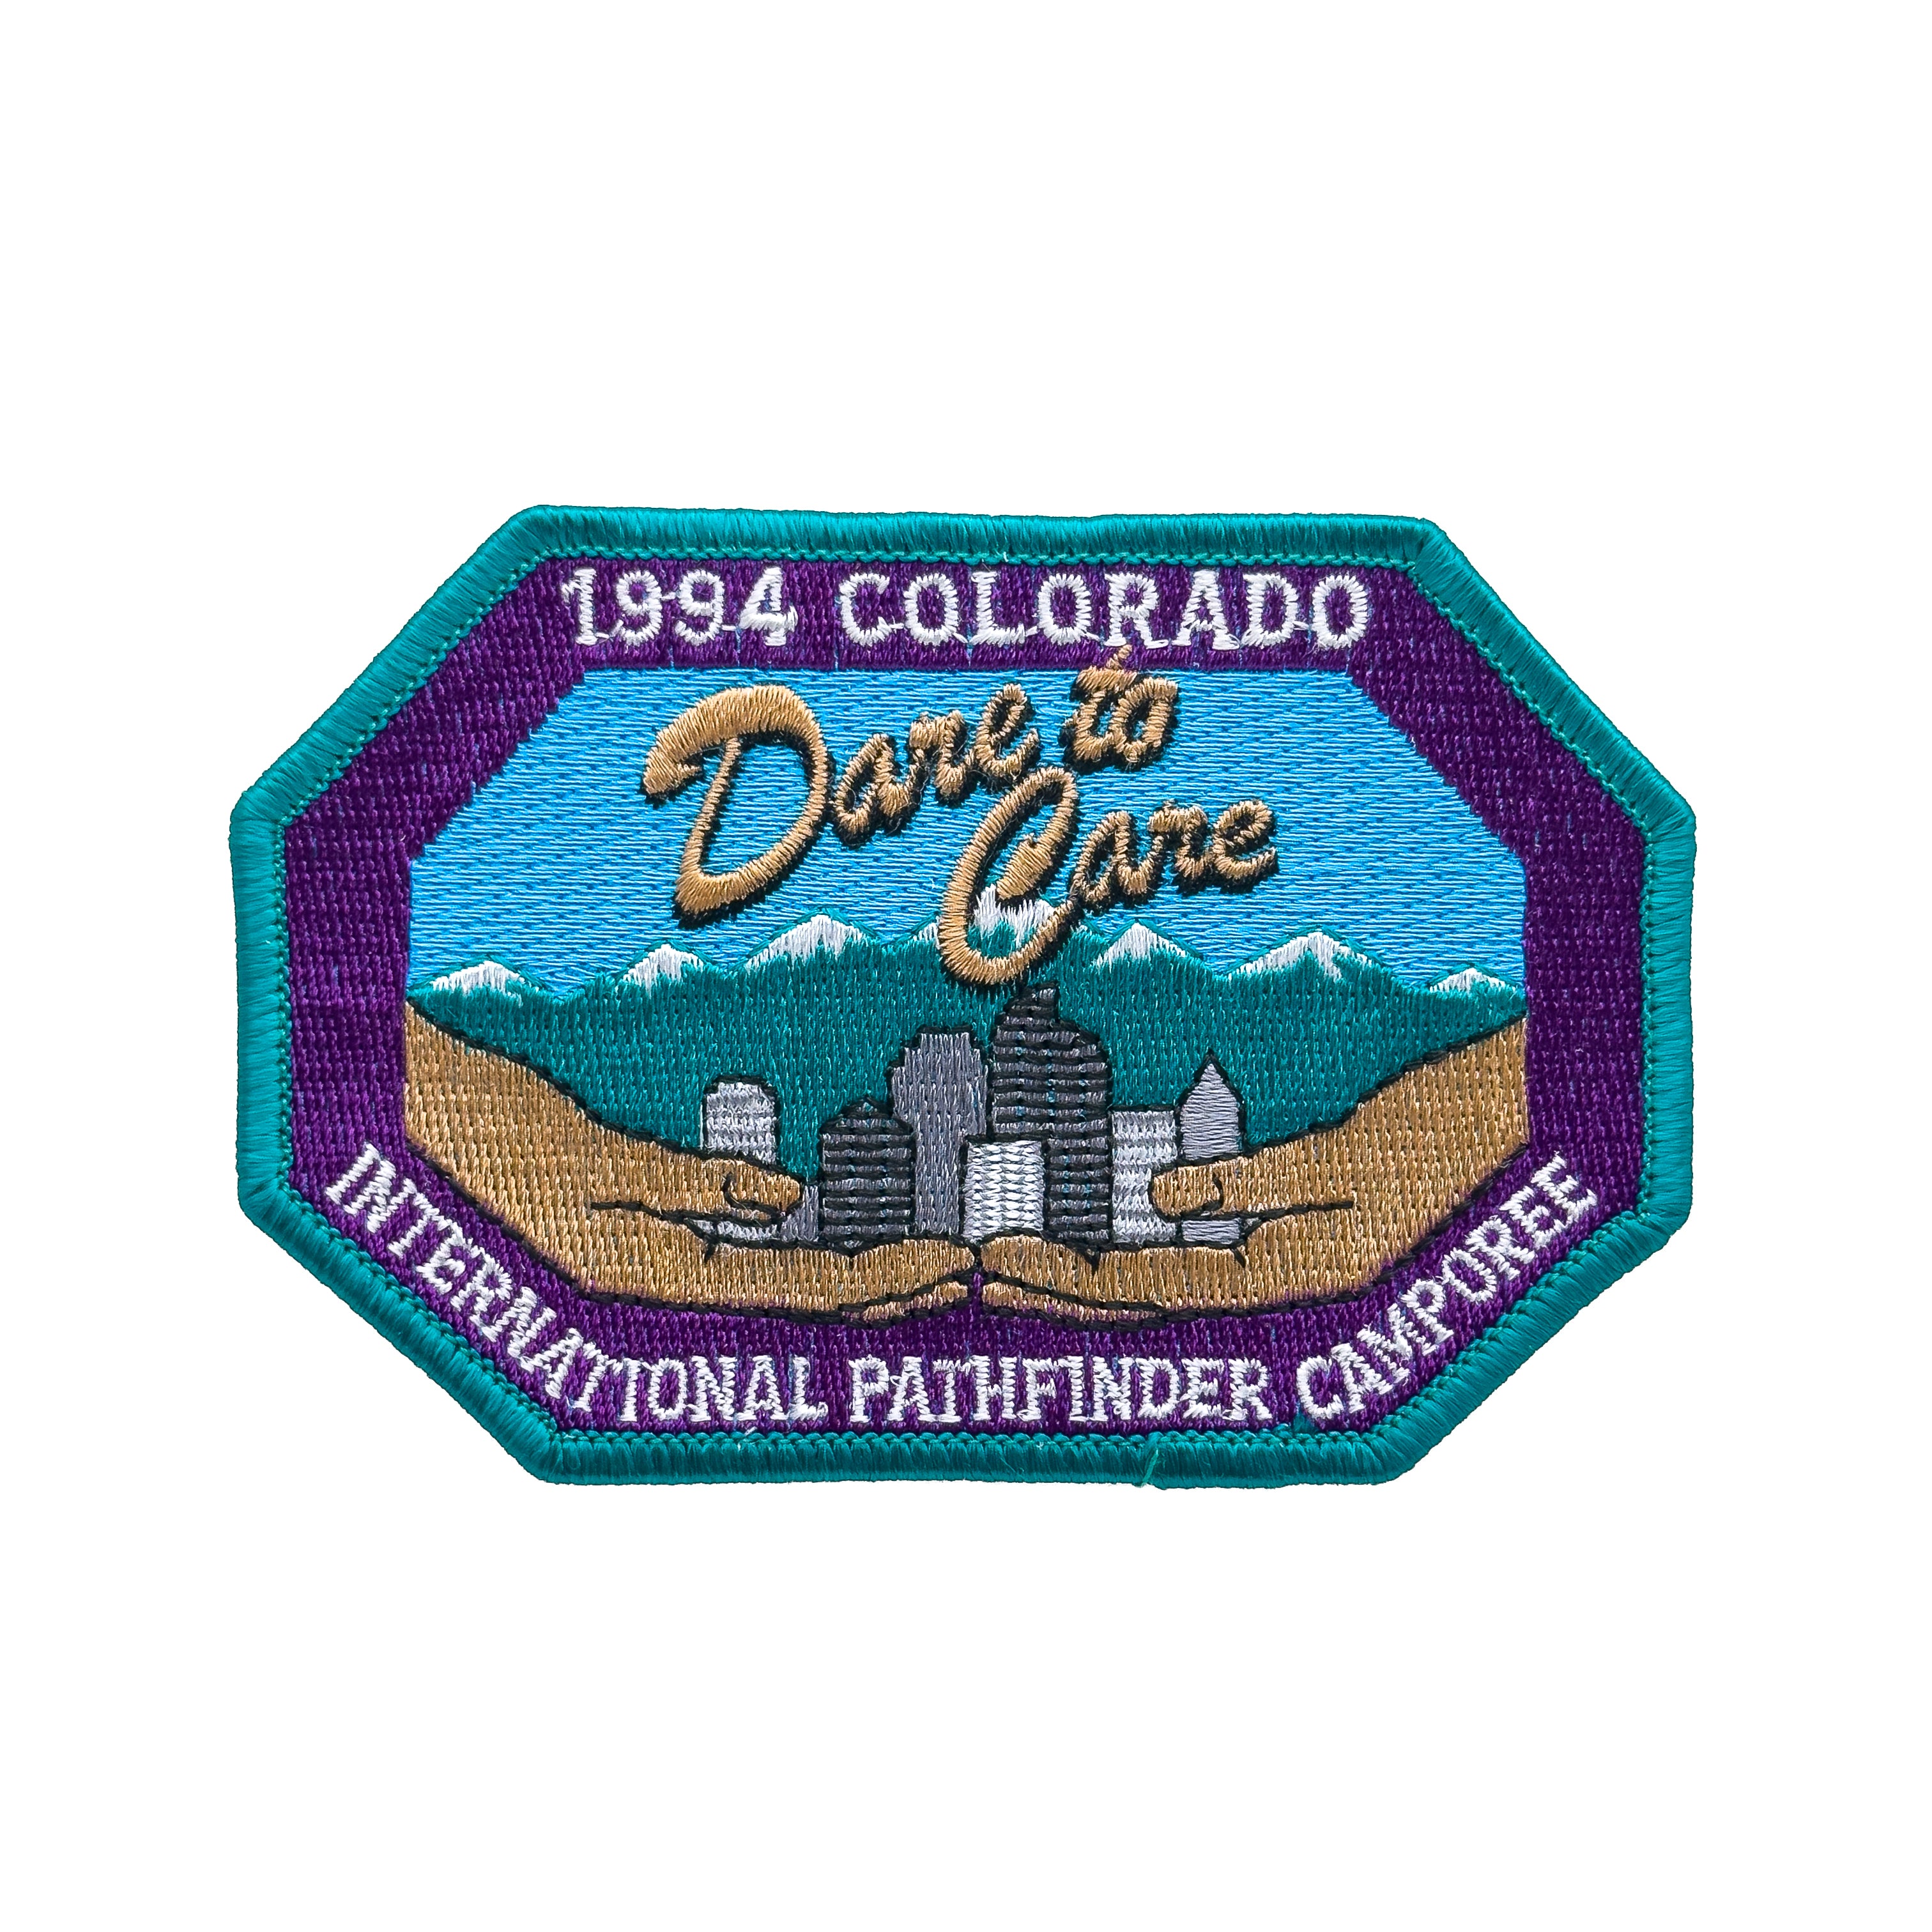
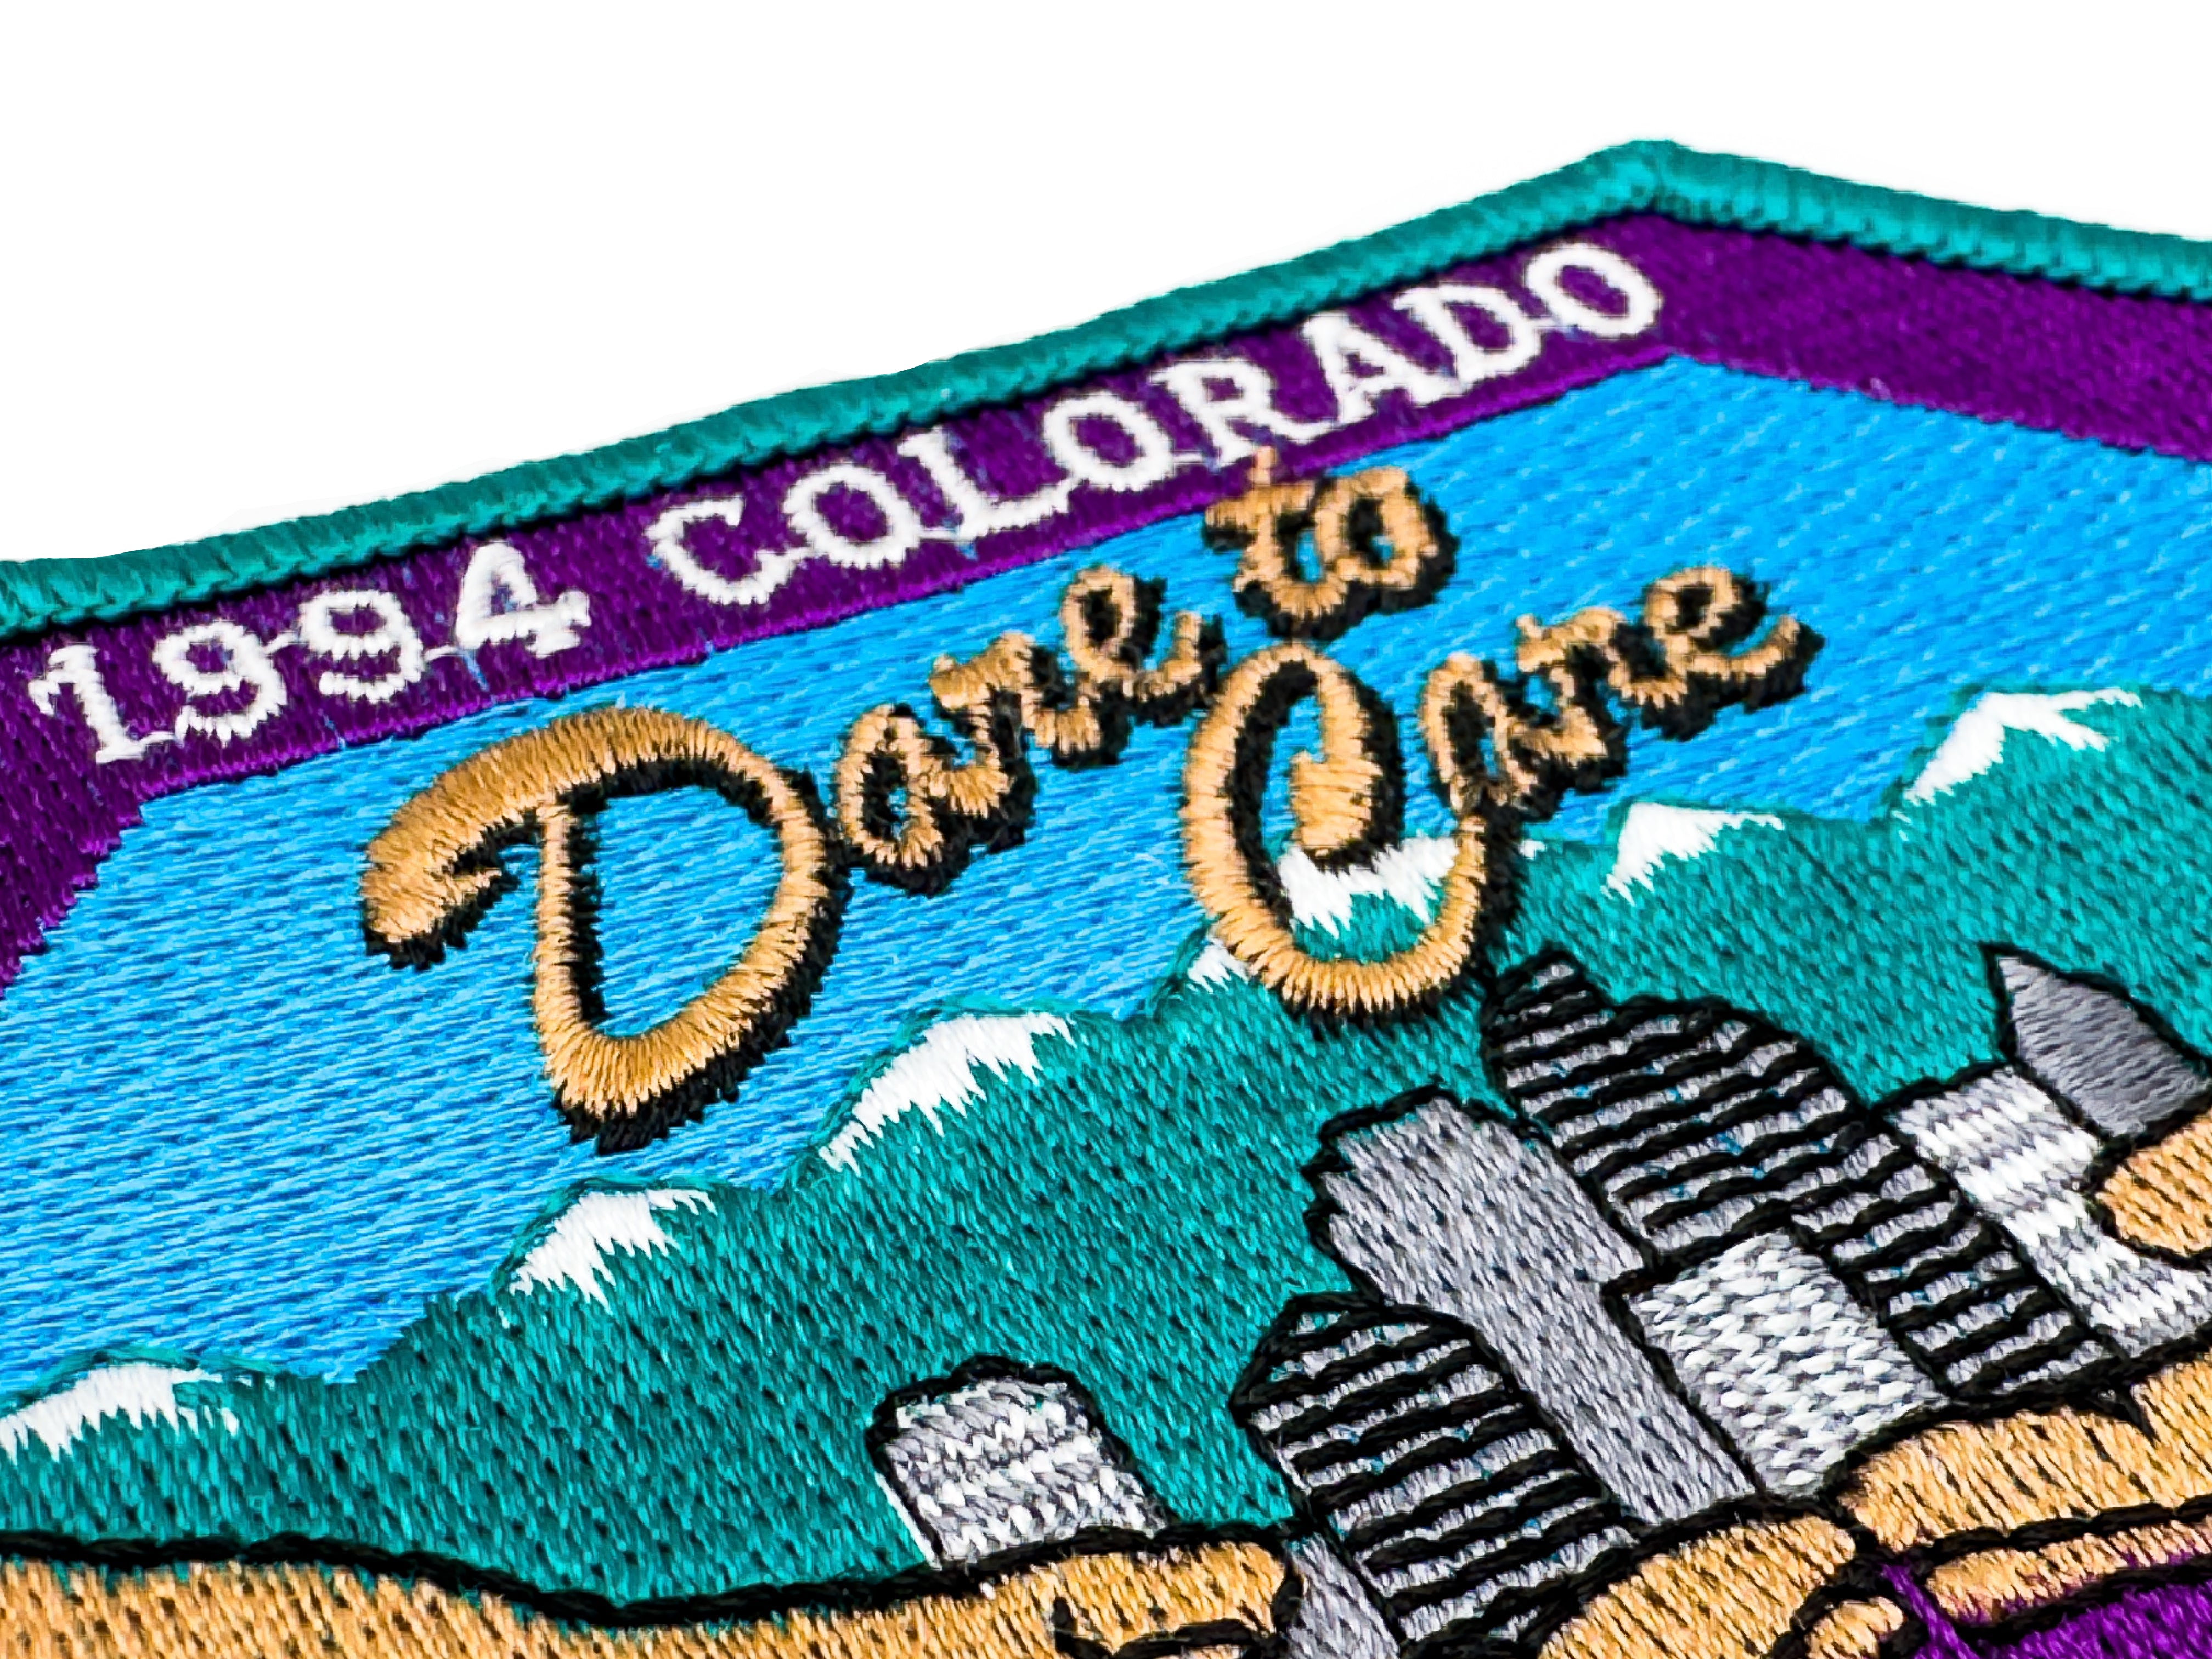
Dare to Care 1994 International Pathfinder Camporee Official Patch
Sale priceR$ 80,00 BRL

62nd GC Session Pin & Patch Bundle
Sale priceR$ 64,00 BRL
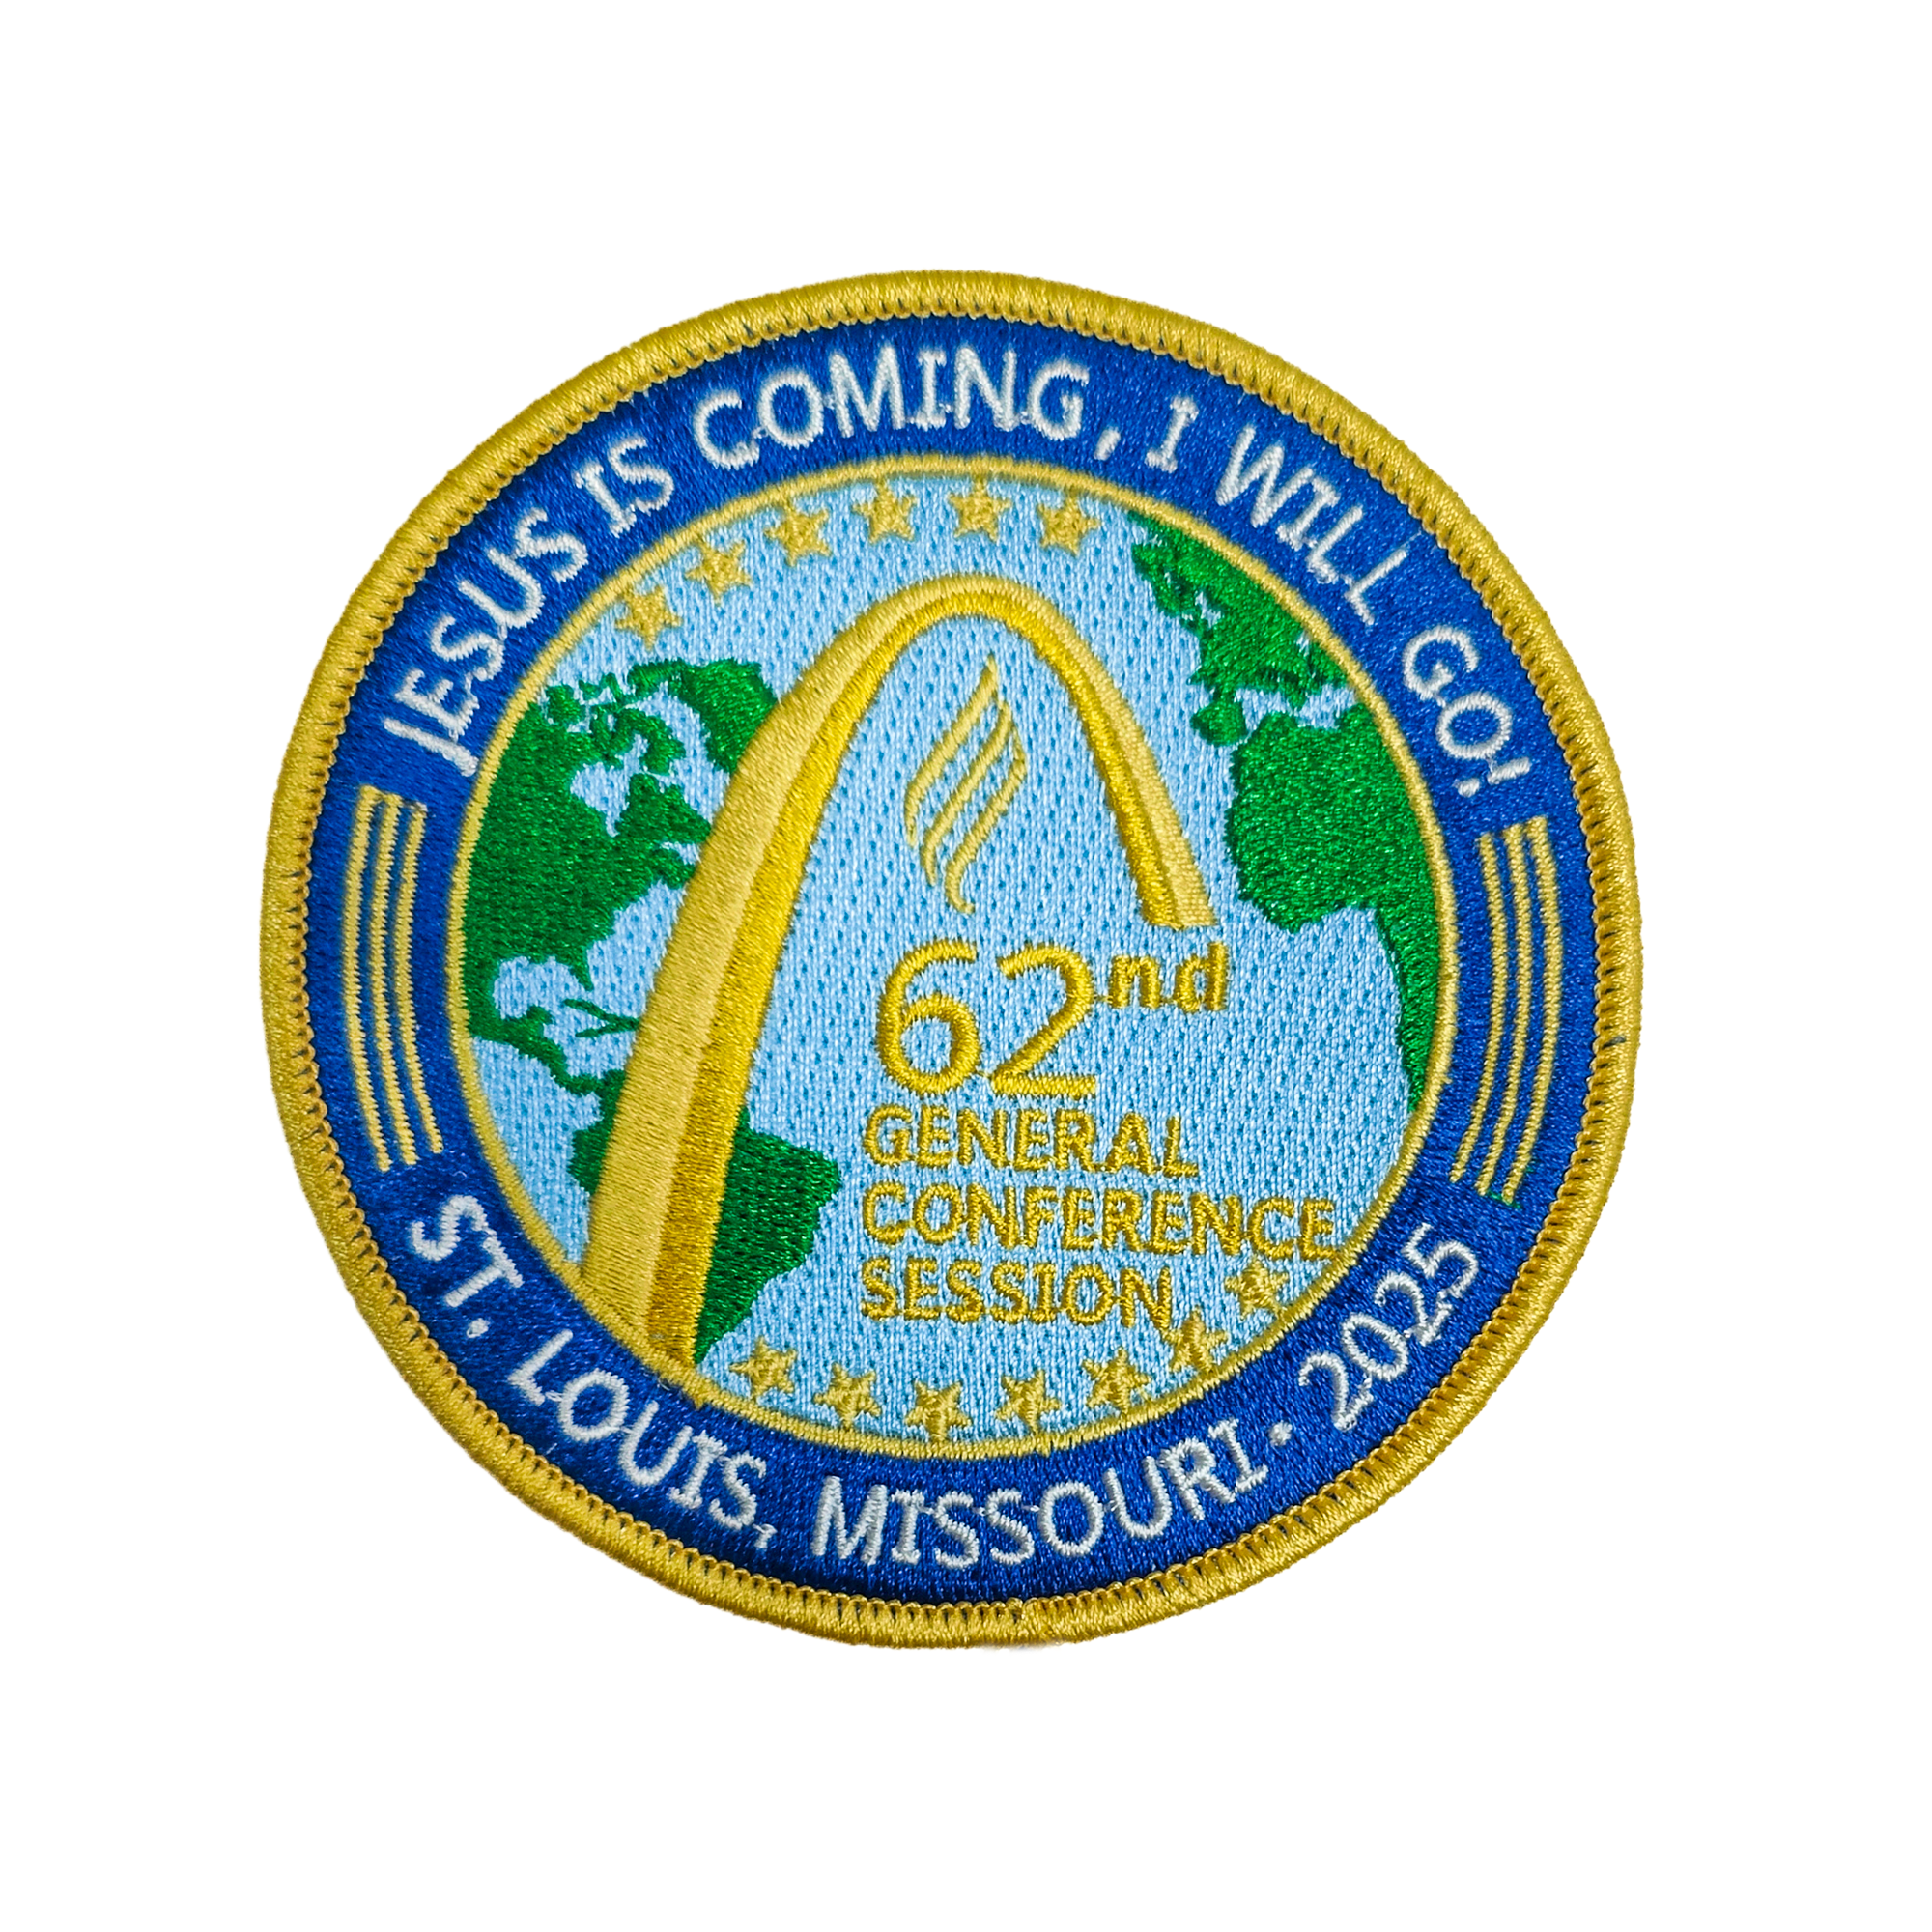
62nd General Conference Session 2025 Patch
Sale priceR$ 38,00 BRL
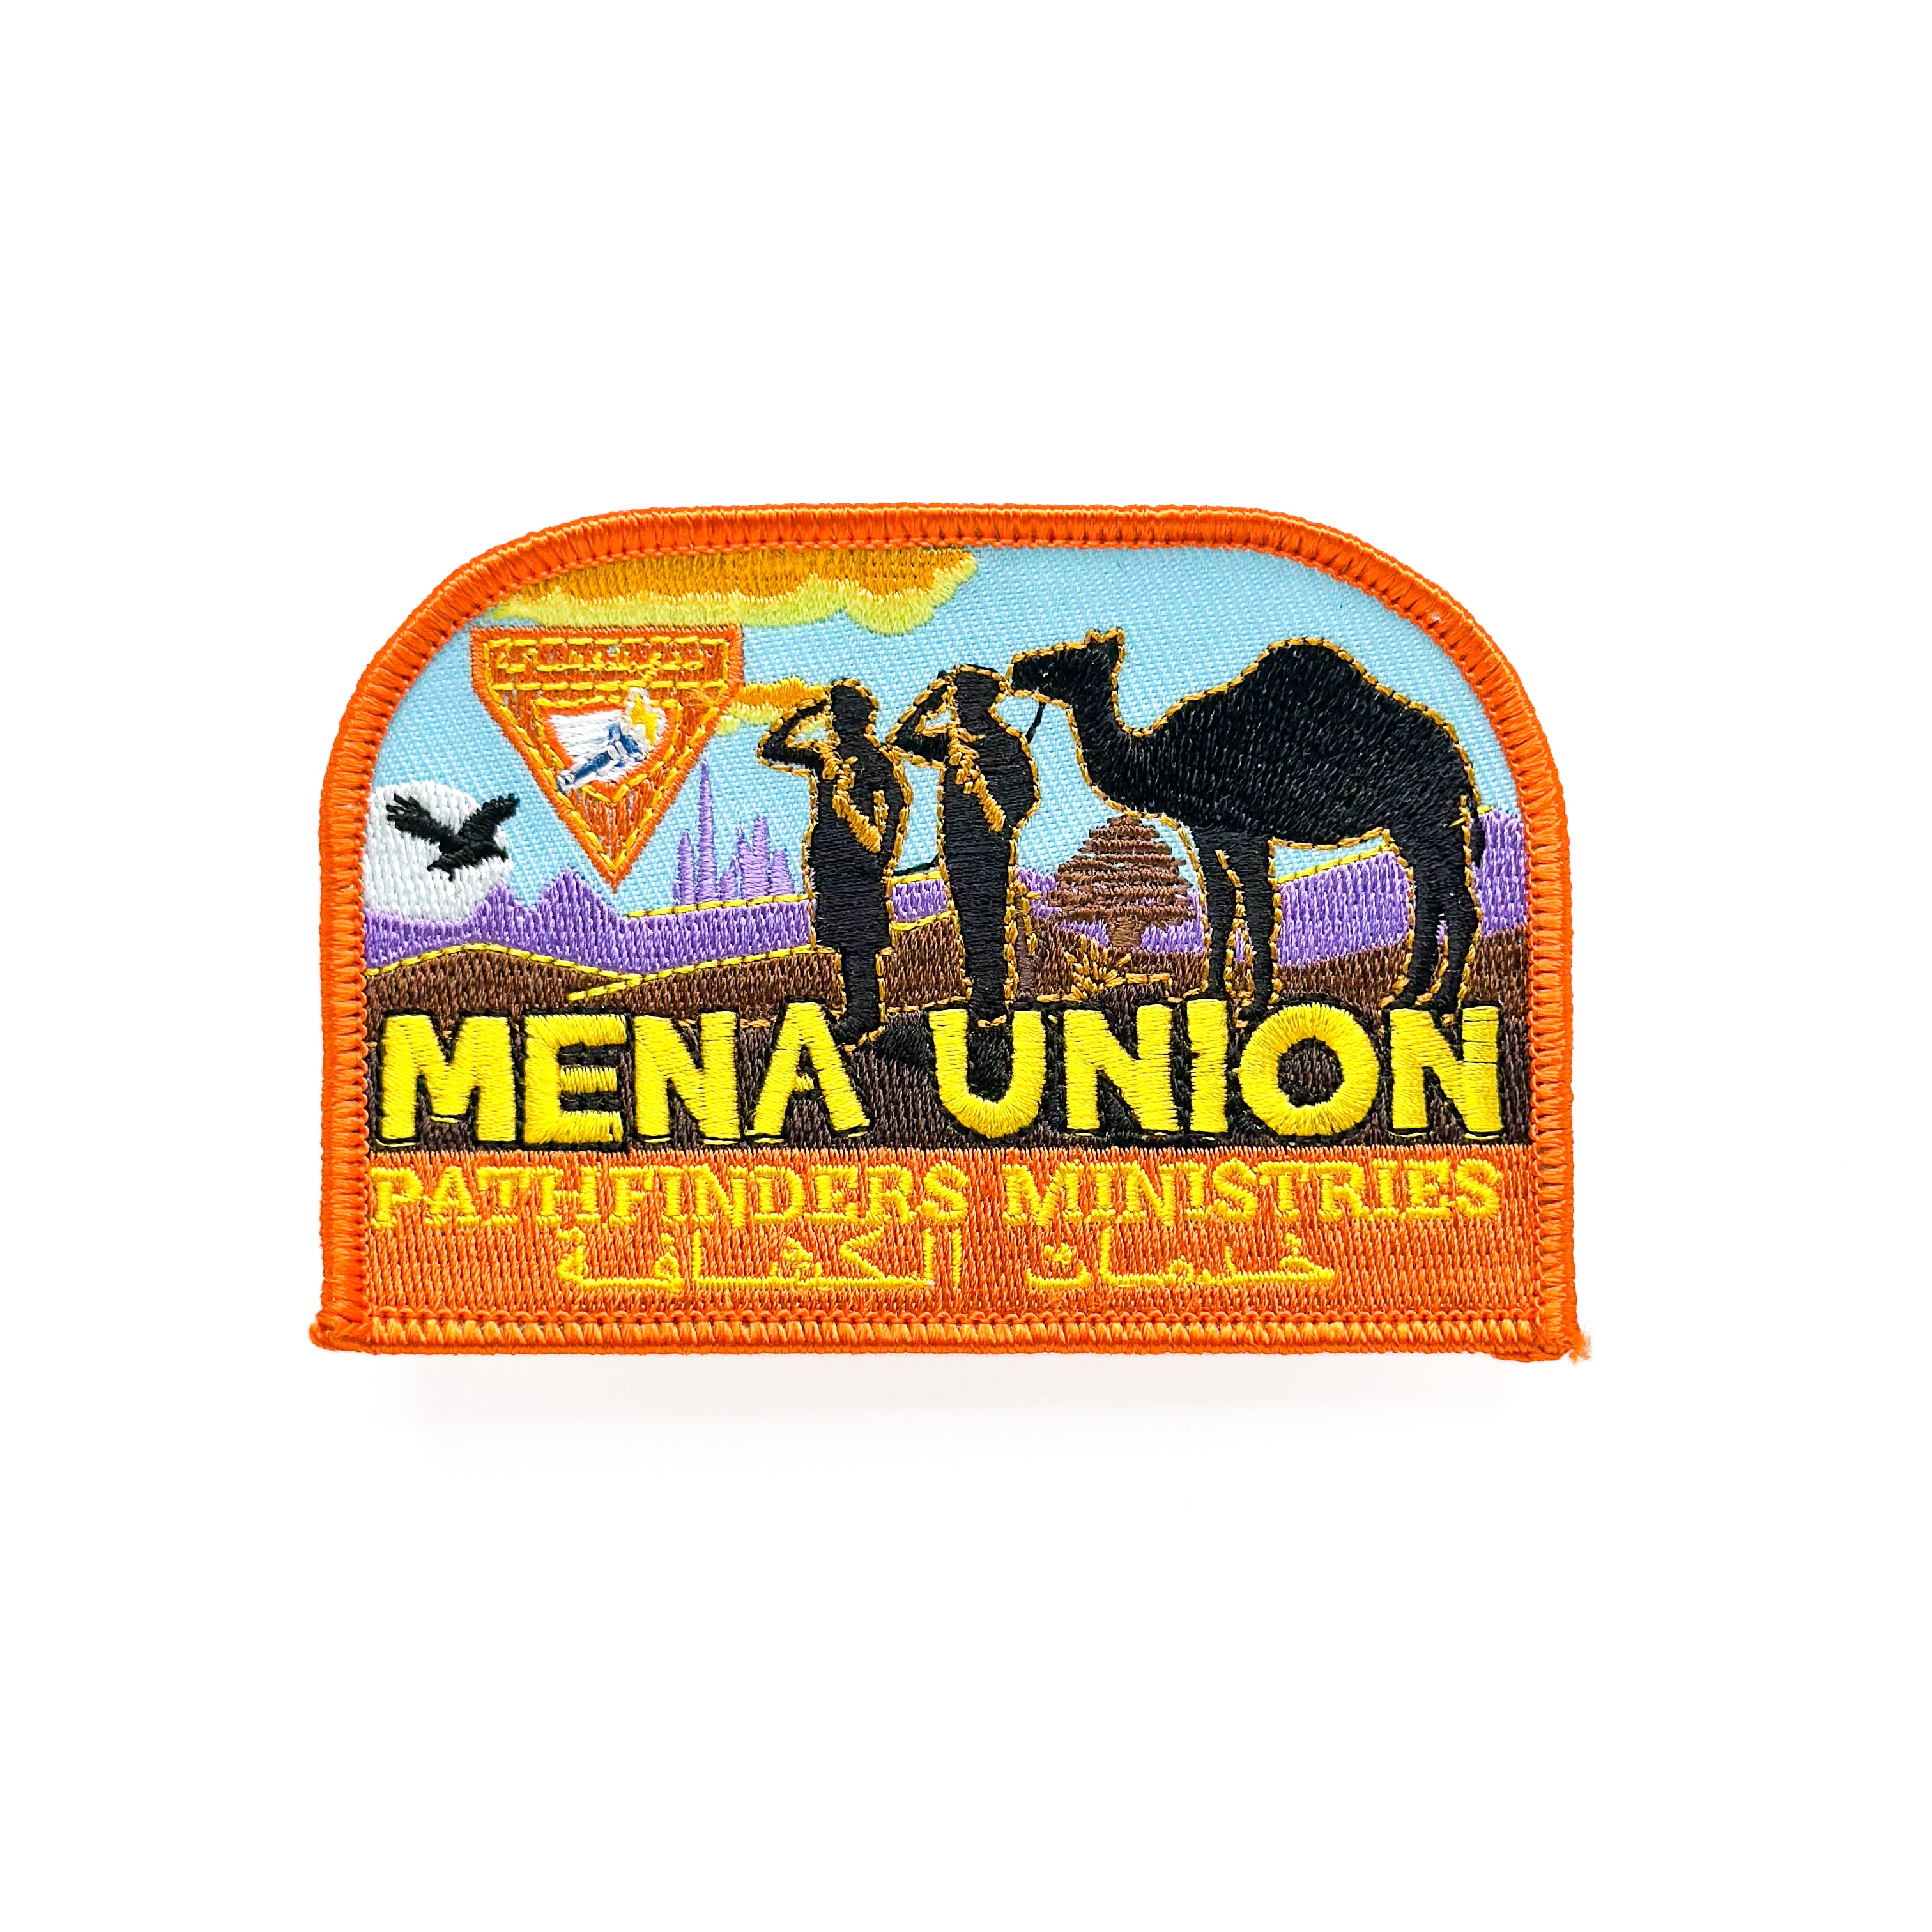
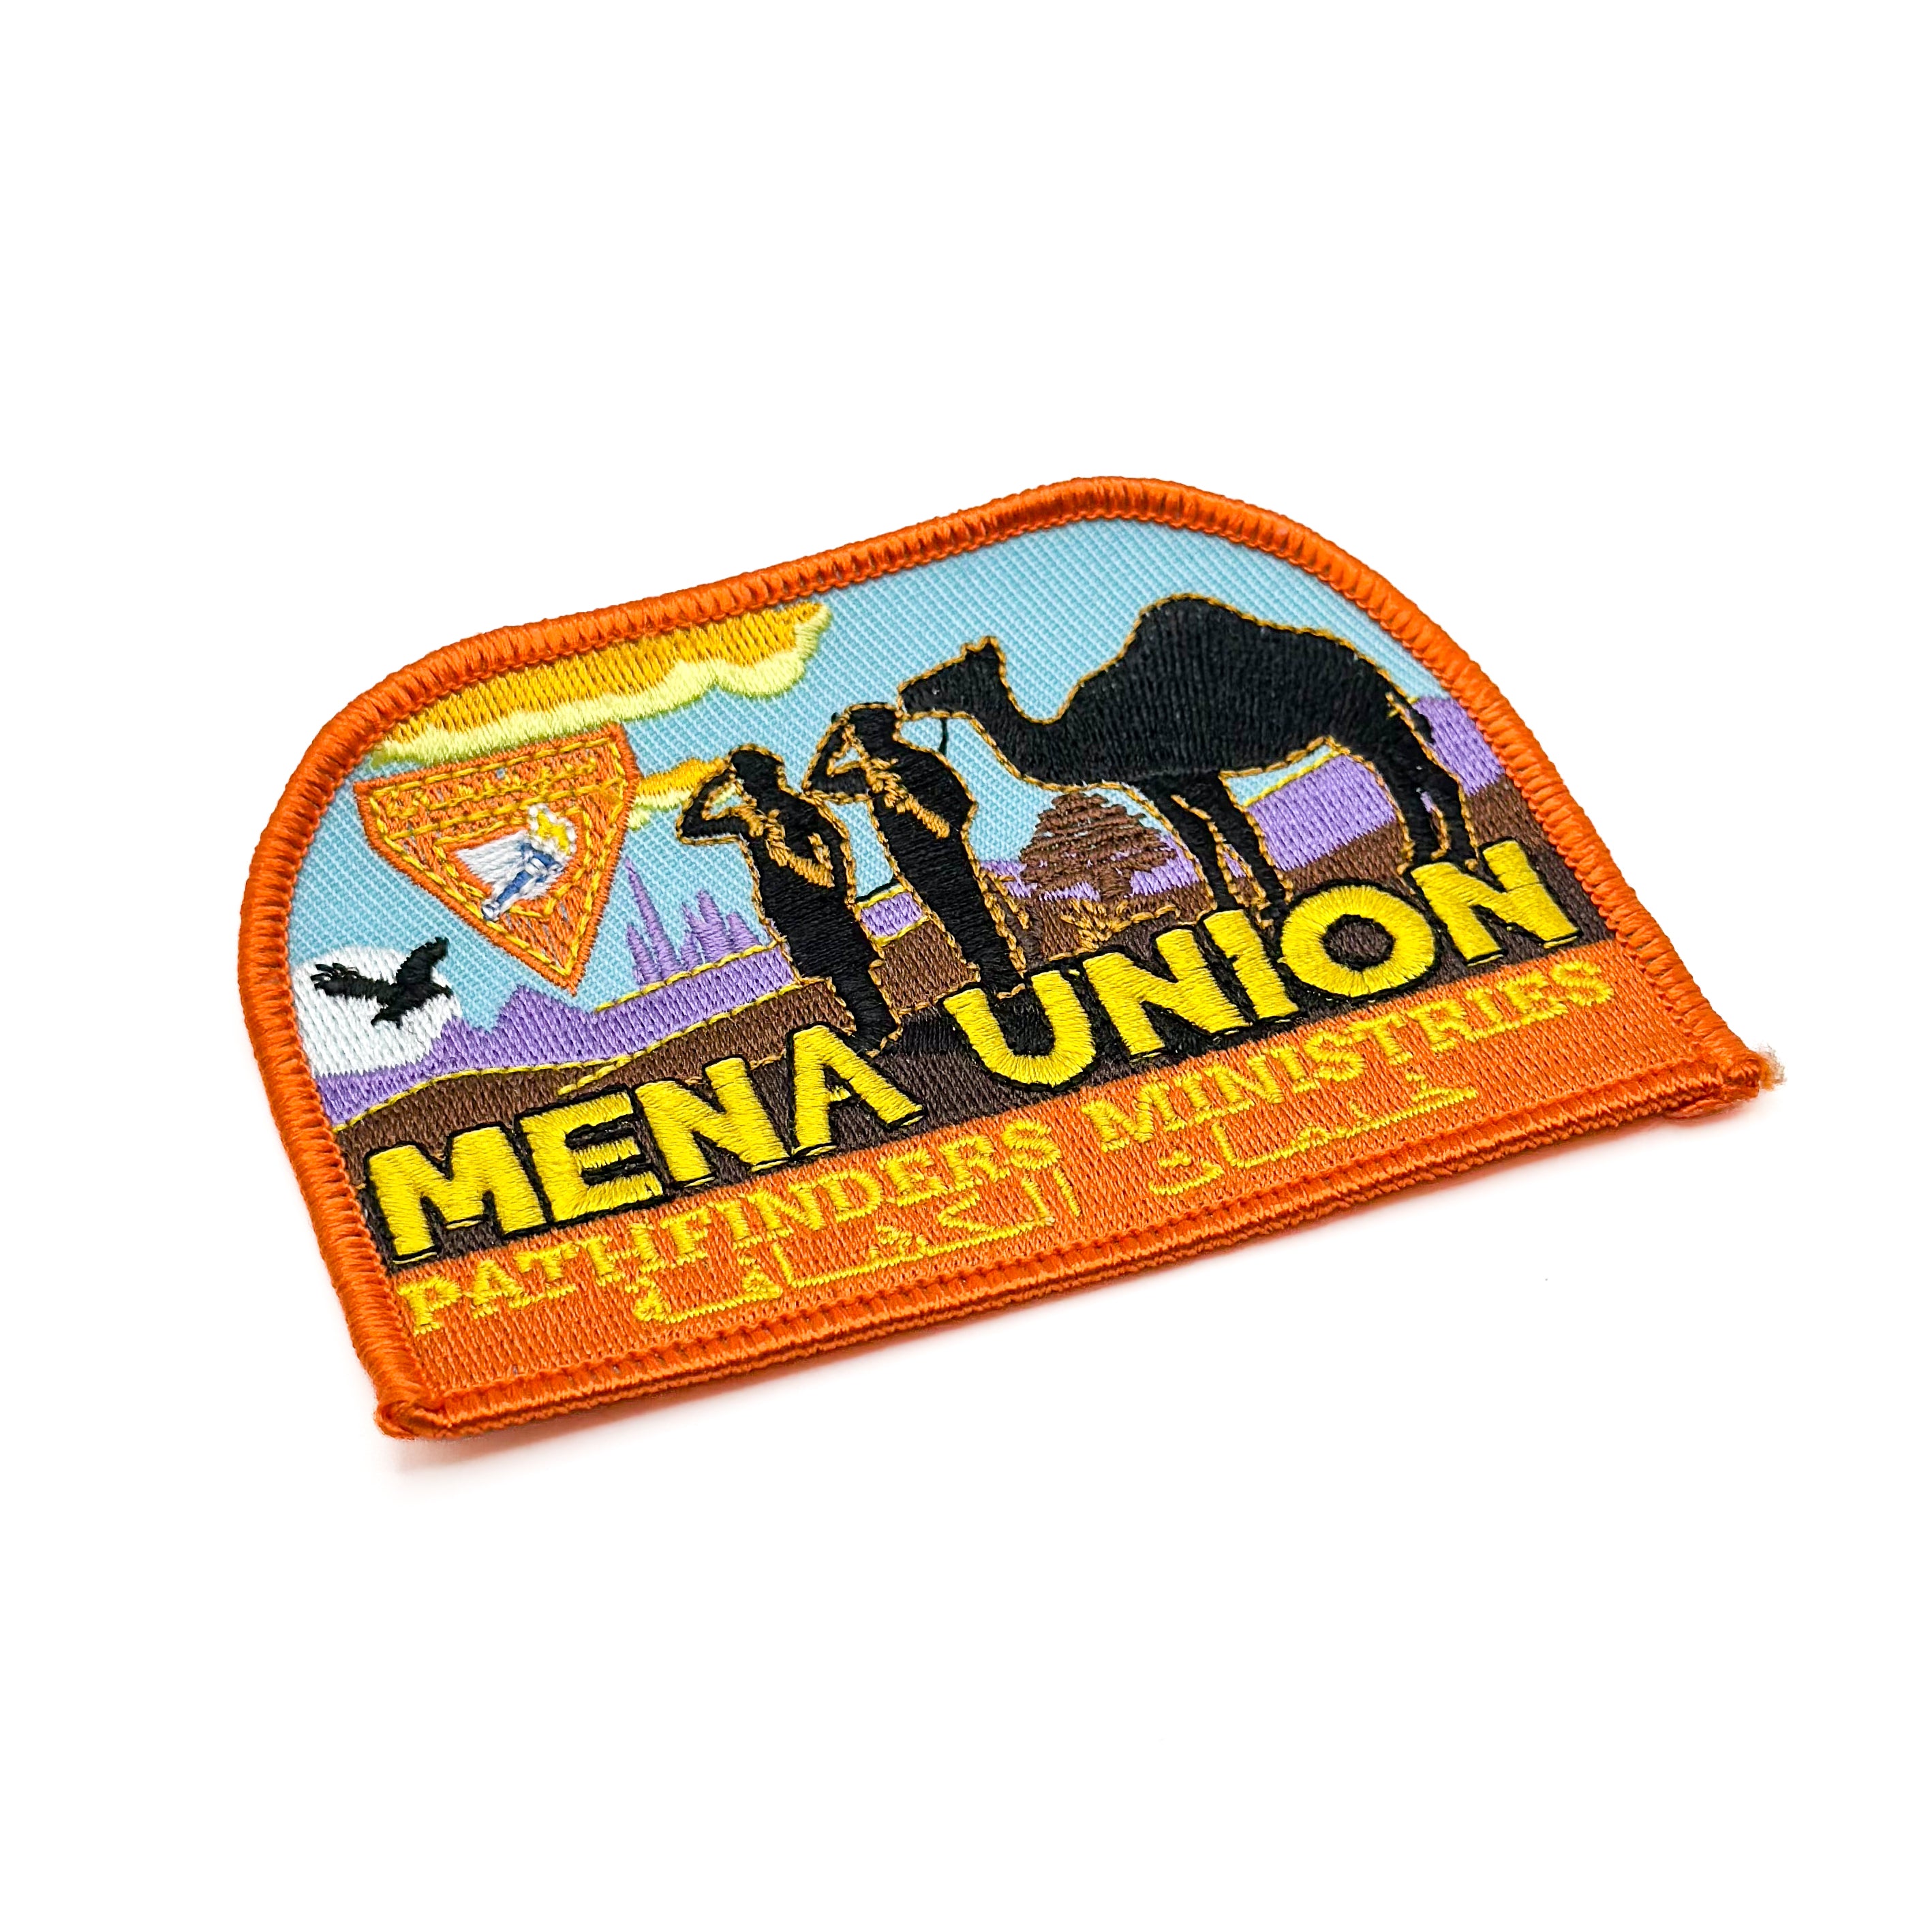
MENA Union Pathfinder Ministries Patch (Fundraiser)
Sale priceR$ 64,00 BRL
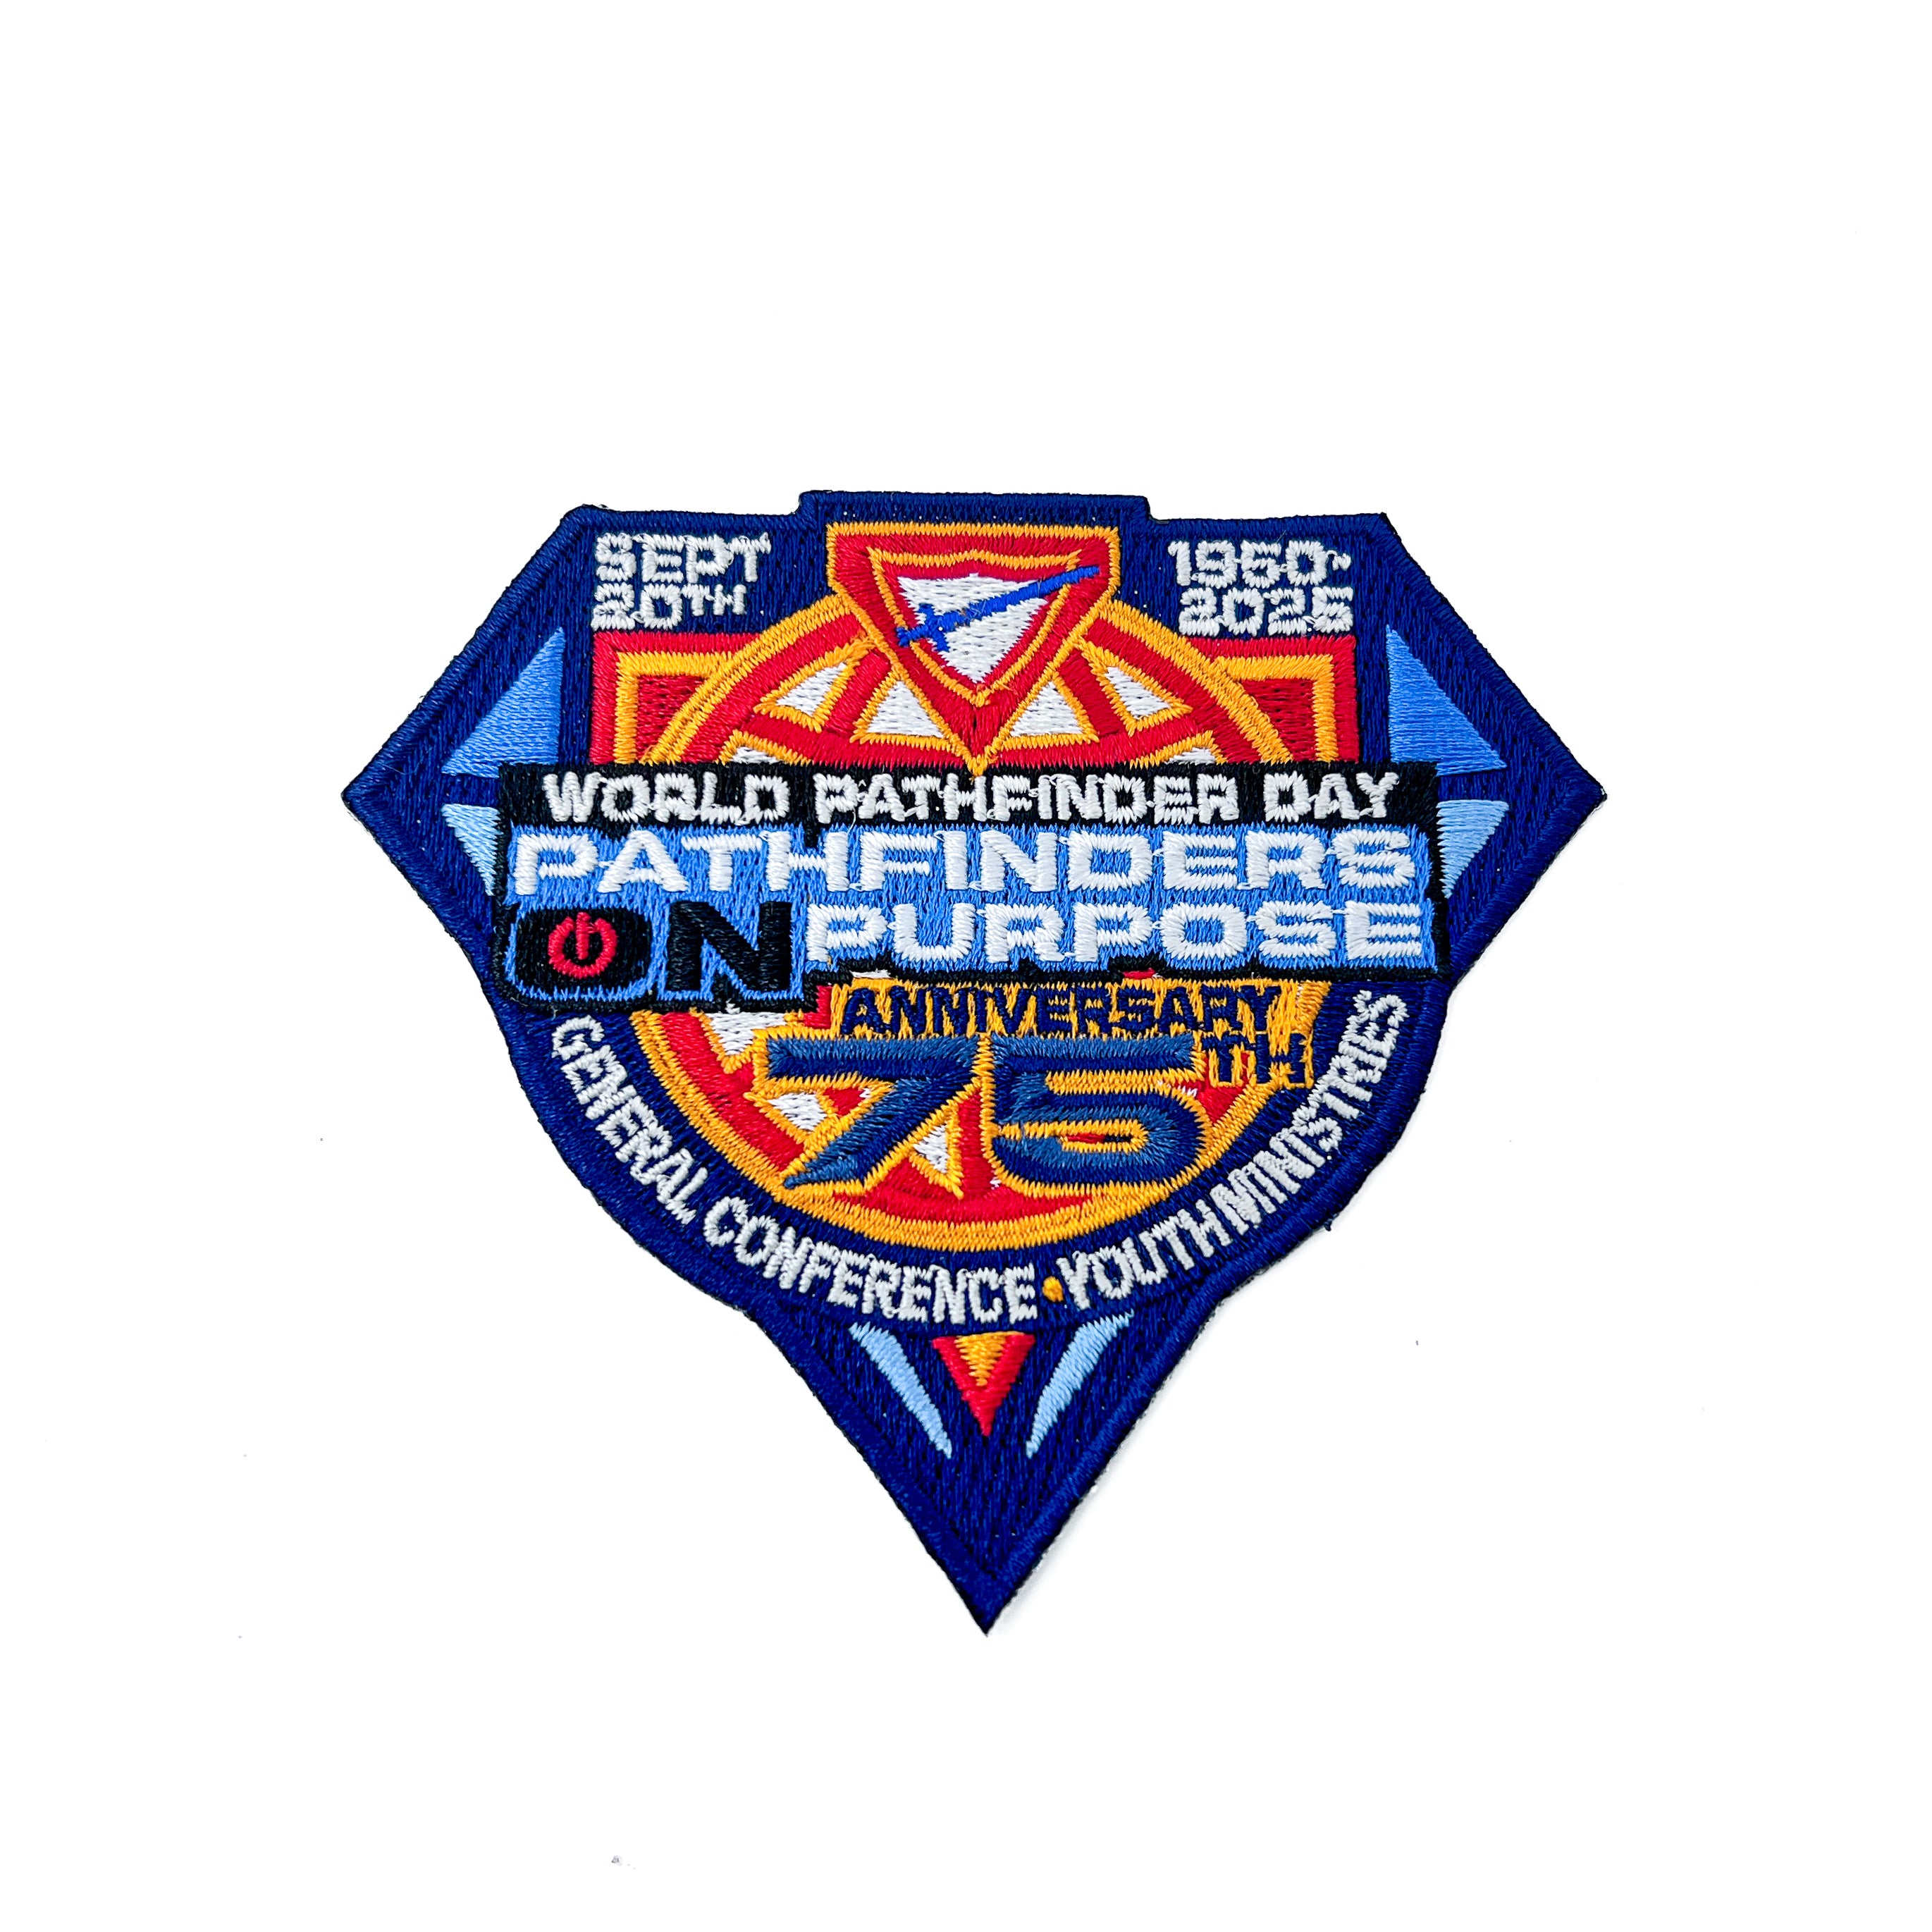
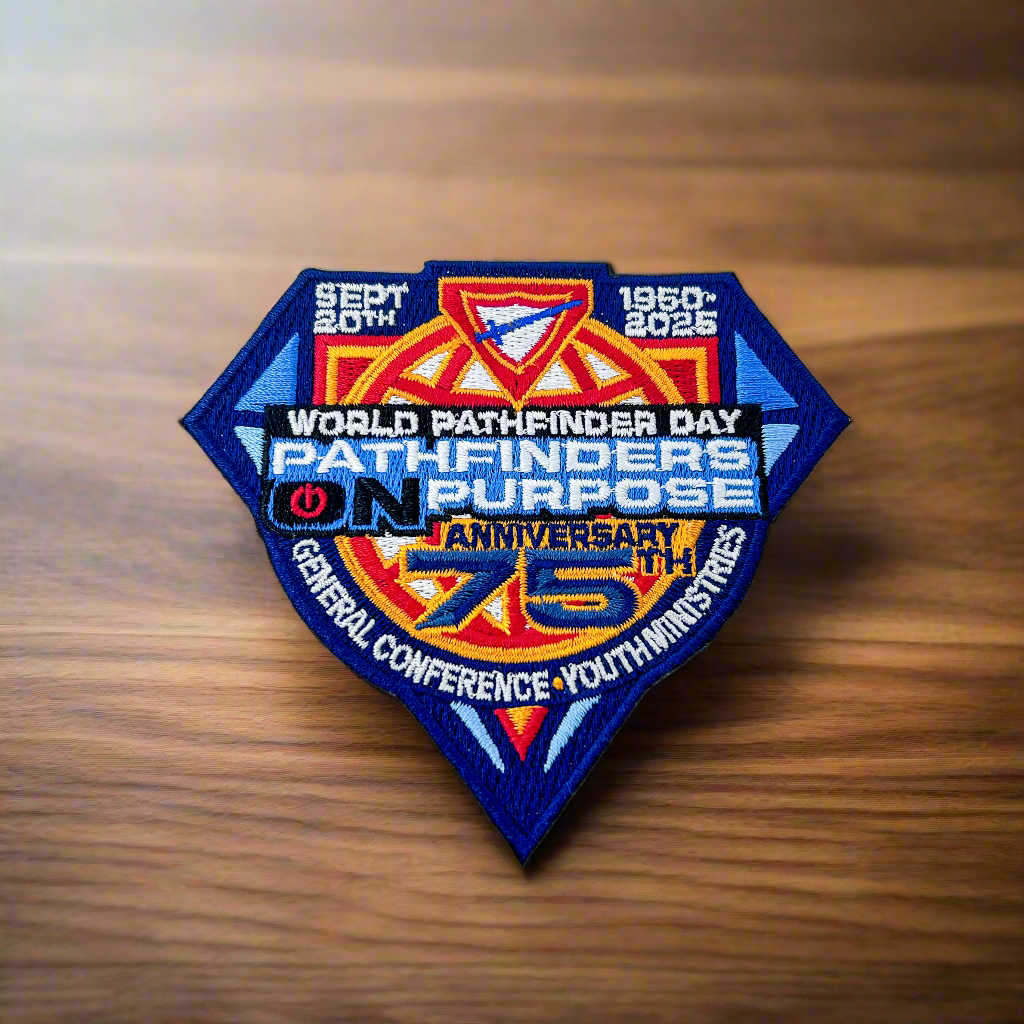
World Pathfinder Day 2025 "Pathfinders on Purpose" Patch
Sale priceR$ 27,00 BRL
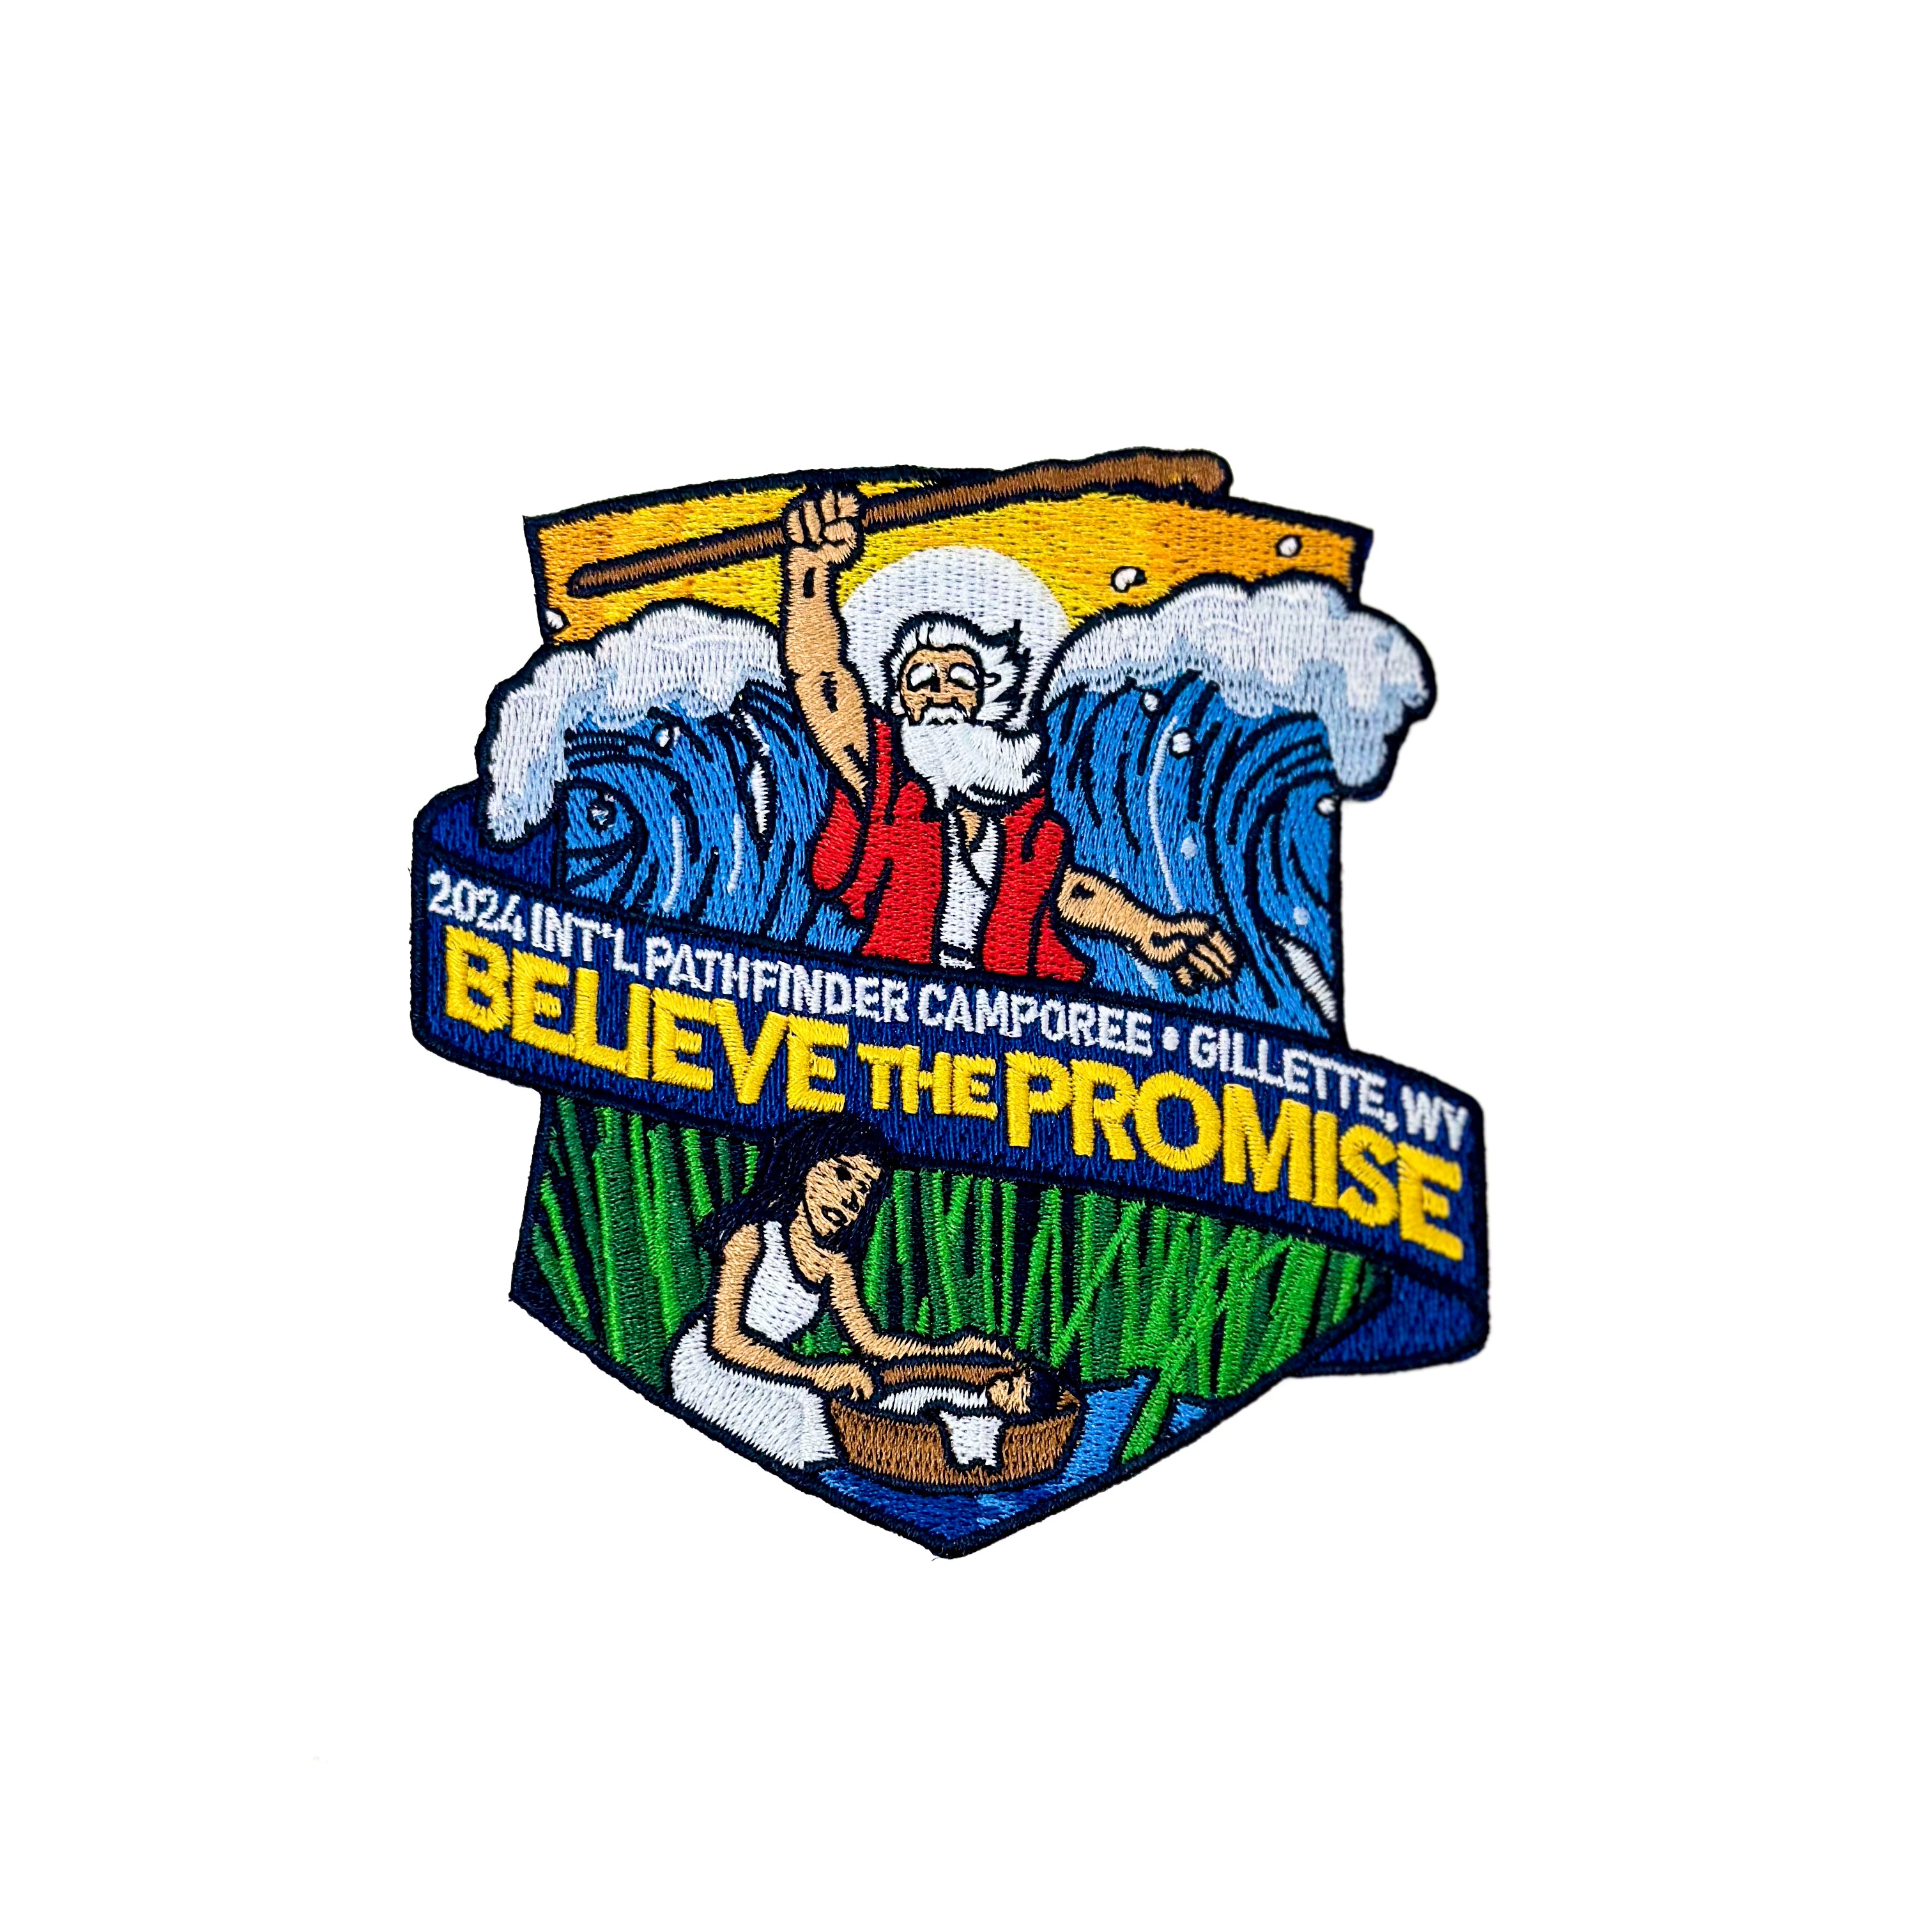
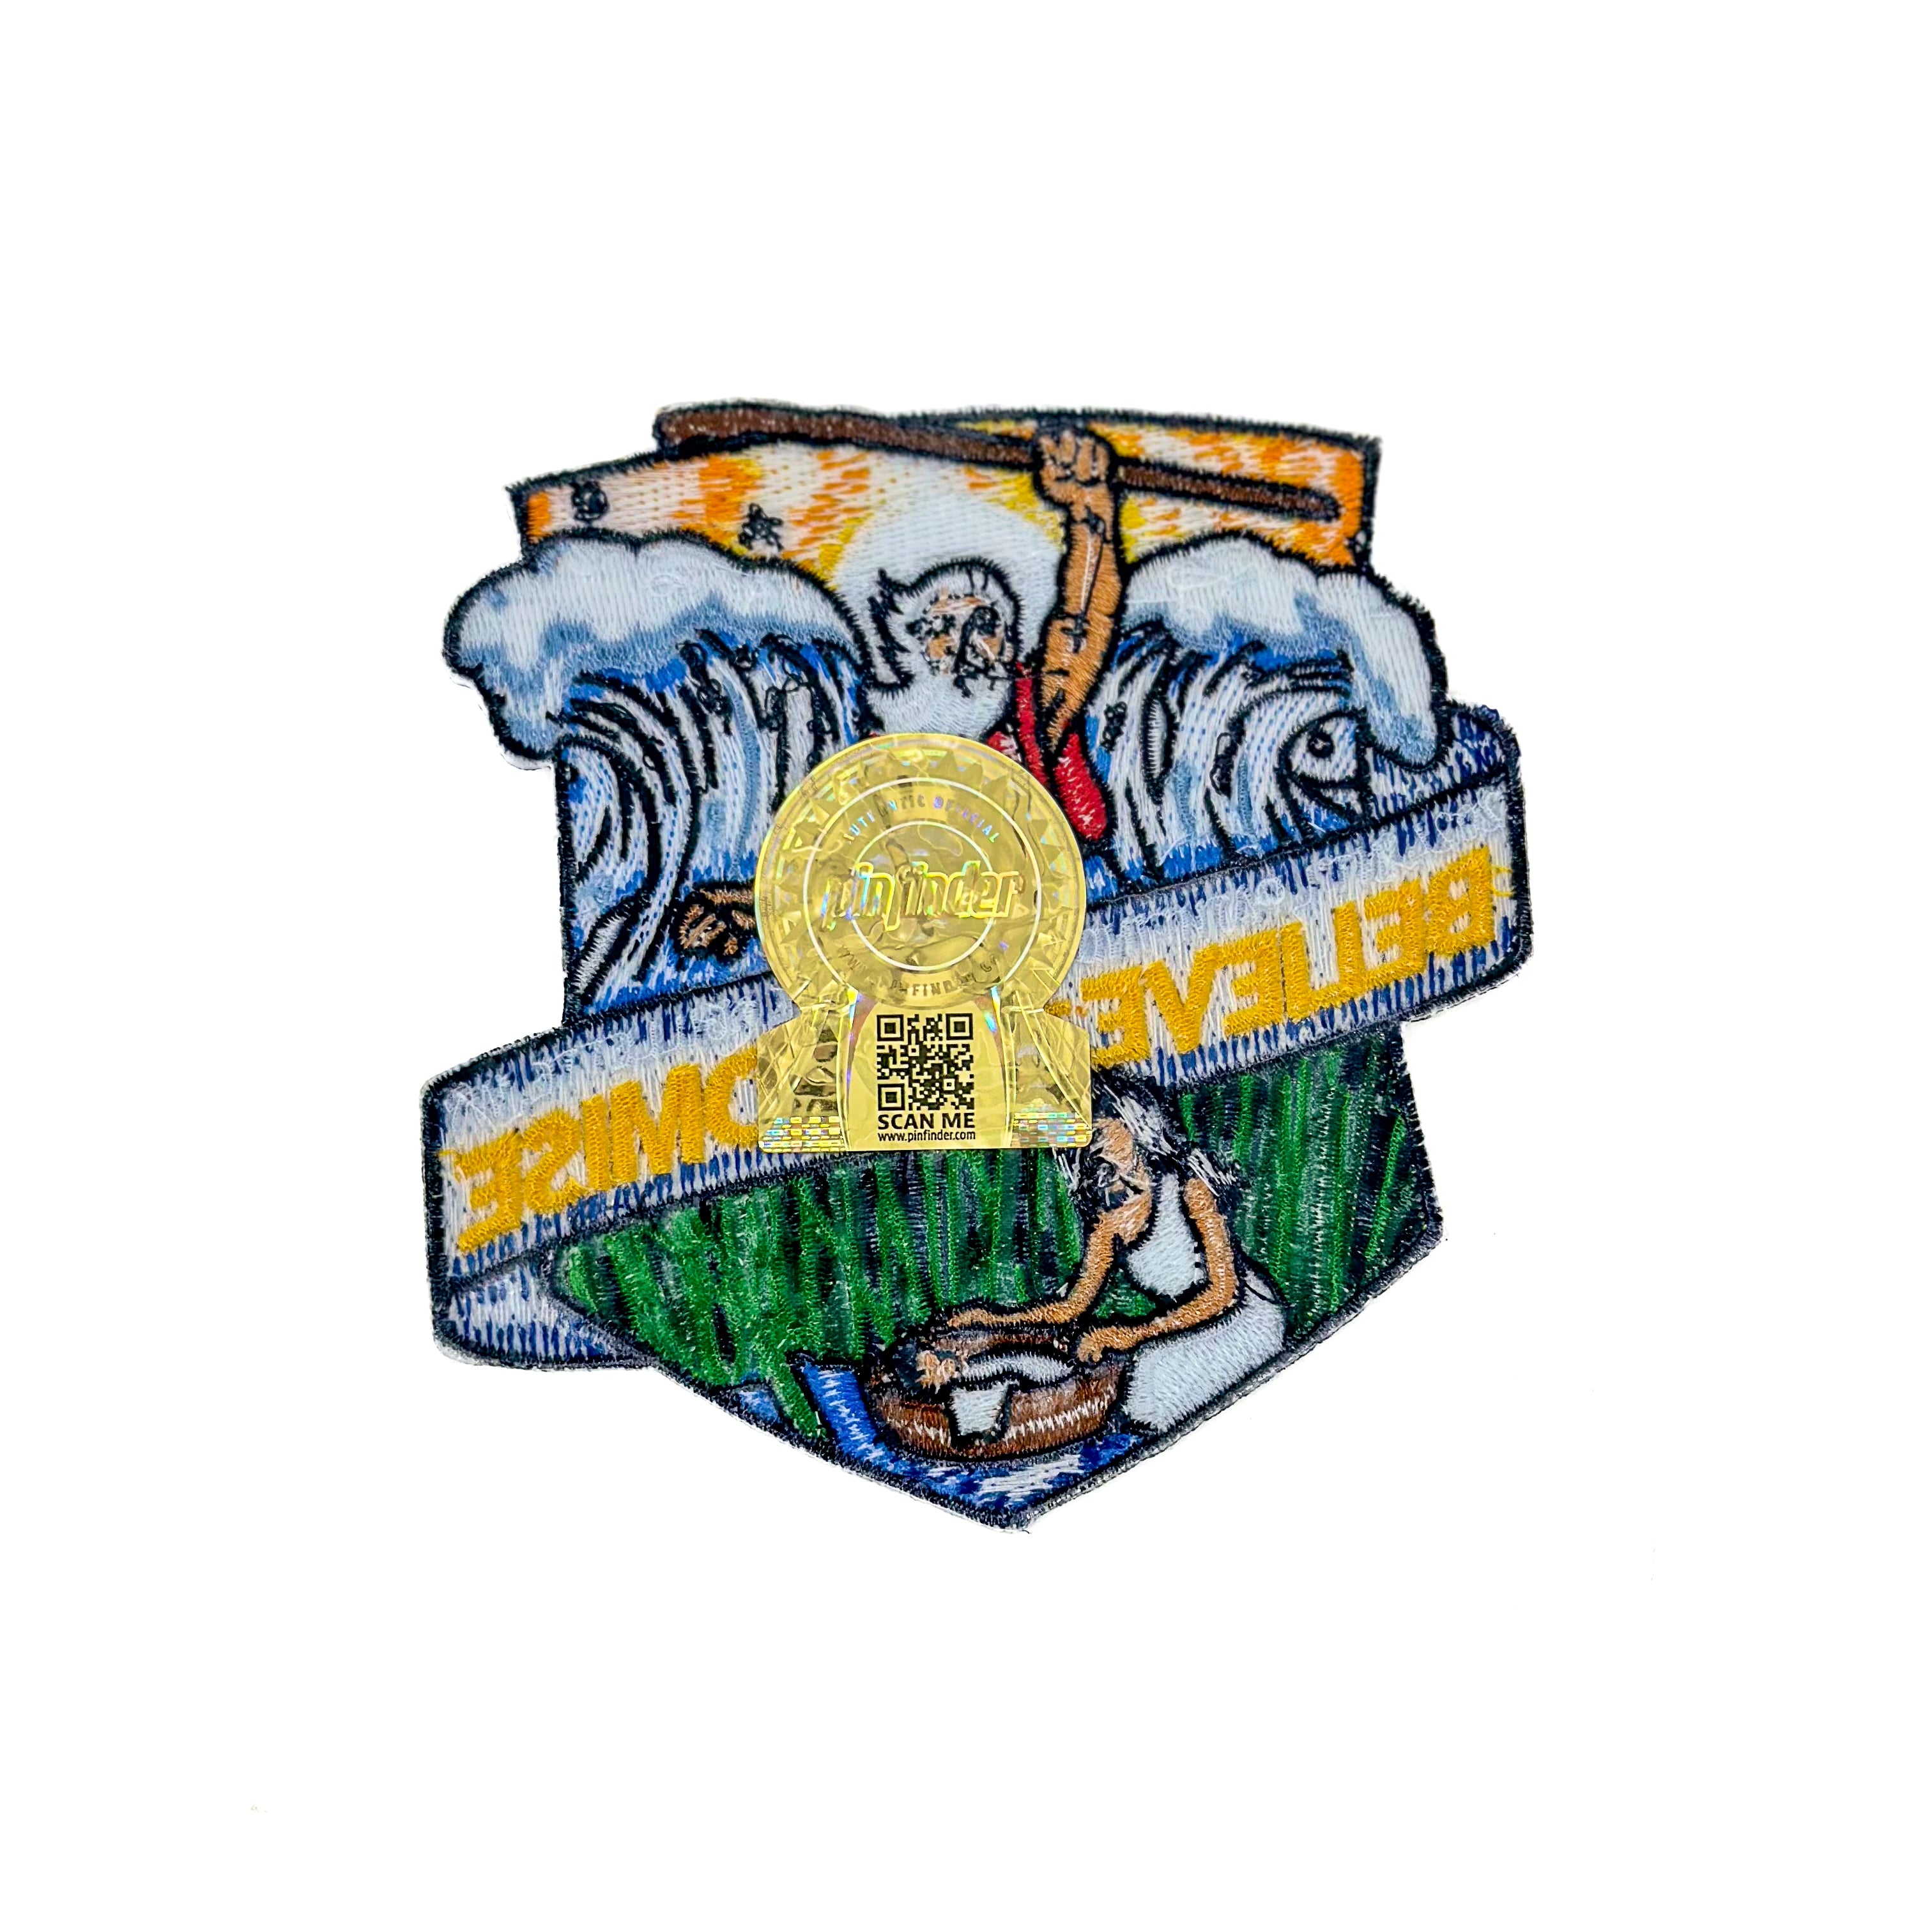
Believe the Promise 2024 International Pathfinder Camporee Official Patch
Sale priceR$ 27,00 BRL